STEP 6 — Cookbook Creator®
Create Your Cookbook Online
Our new recipe software,
Cookbook Creator®, is unlike any other software on the market.
Create your cookbook from cover to cover, add photos to recipe pages, and more!
Once again we are leading the way and changing the way custom cookbooks are created, printed, and priced.
The benefits offered with our original U-Type-It™ Online software are still a big part of what you expect from Cookbook Publishers, but we’ve expanded those benefits and the control you have over your cookbook with the following features:
- Create your book completely online – cover, dividers, personal pages, and recipes are all integrated into your online account.
- Upload color photos or images to include on personal pages or with particular recipes – use as many as you like to make your book unique!
- Upgrade the paper stock used for the pages in your book for a more upscale product – and more profit for your treasury!
- Eliminate the cost for optional features like Recipe Notes, Recipes Not Continued, Recipe Fillers, Icons, and Sub-categories.
- New pricing structure so that you only pay for the number of pages your book actually contains.
- Save up to $1.00* off per book – or more – when you do the typing instead of sending it to us to type for you.
- 24/7 Availability! You and your members can access the account anytime, from anywhere there is internet access. Just enter the web address into your browser and login – no software to download or install.
- Get your books quicker! Production and shipping time with Cookbook Creator® is about 20 to 25 working days after we receive your order, compared to 30 to 40 working days when we do the typing for you.
Let’s Get Started!
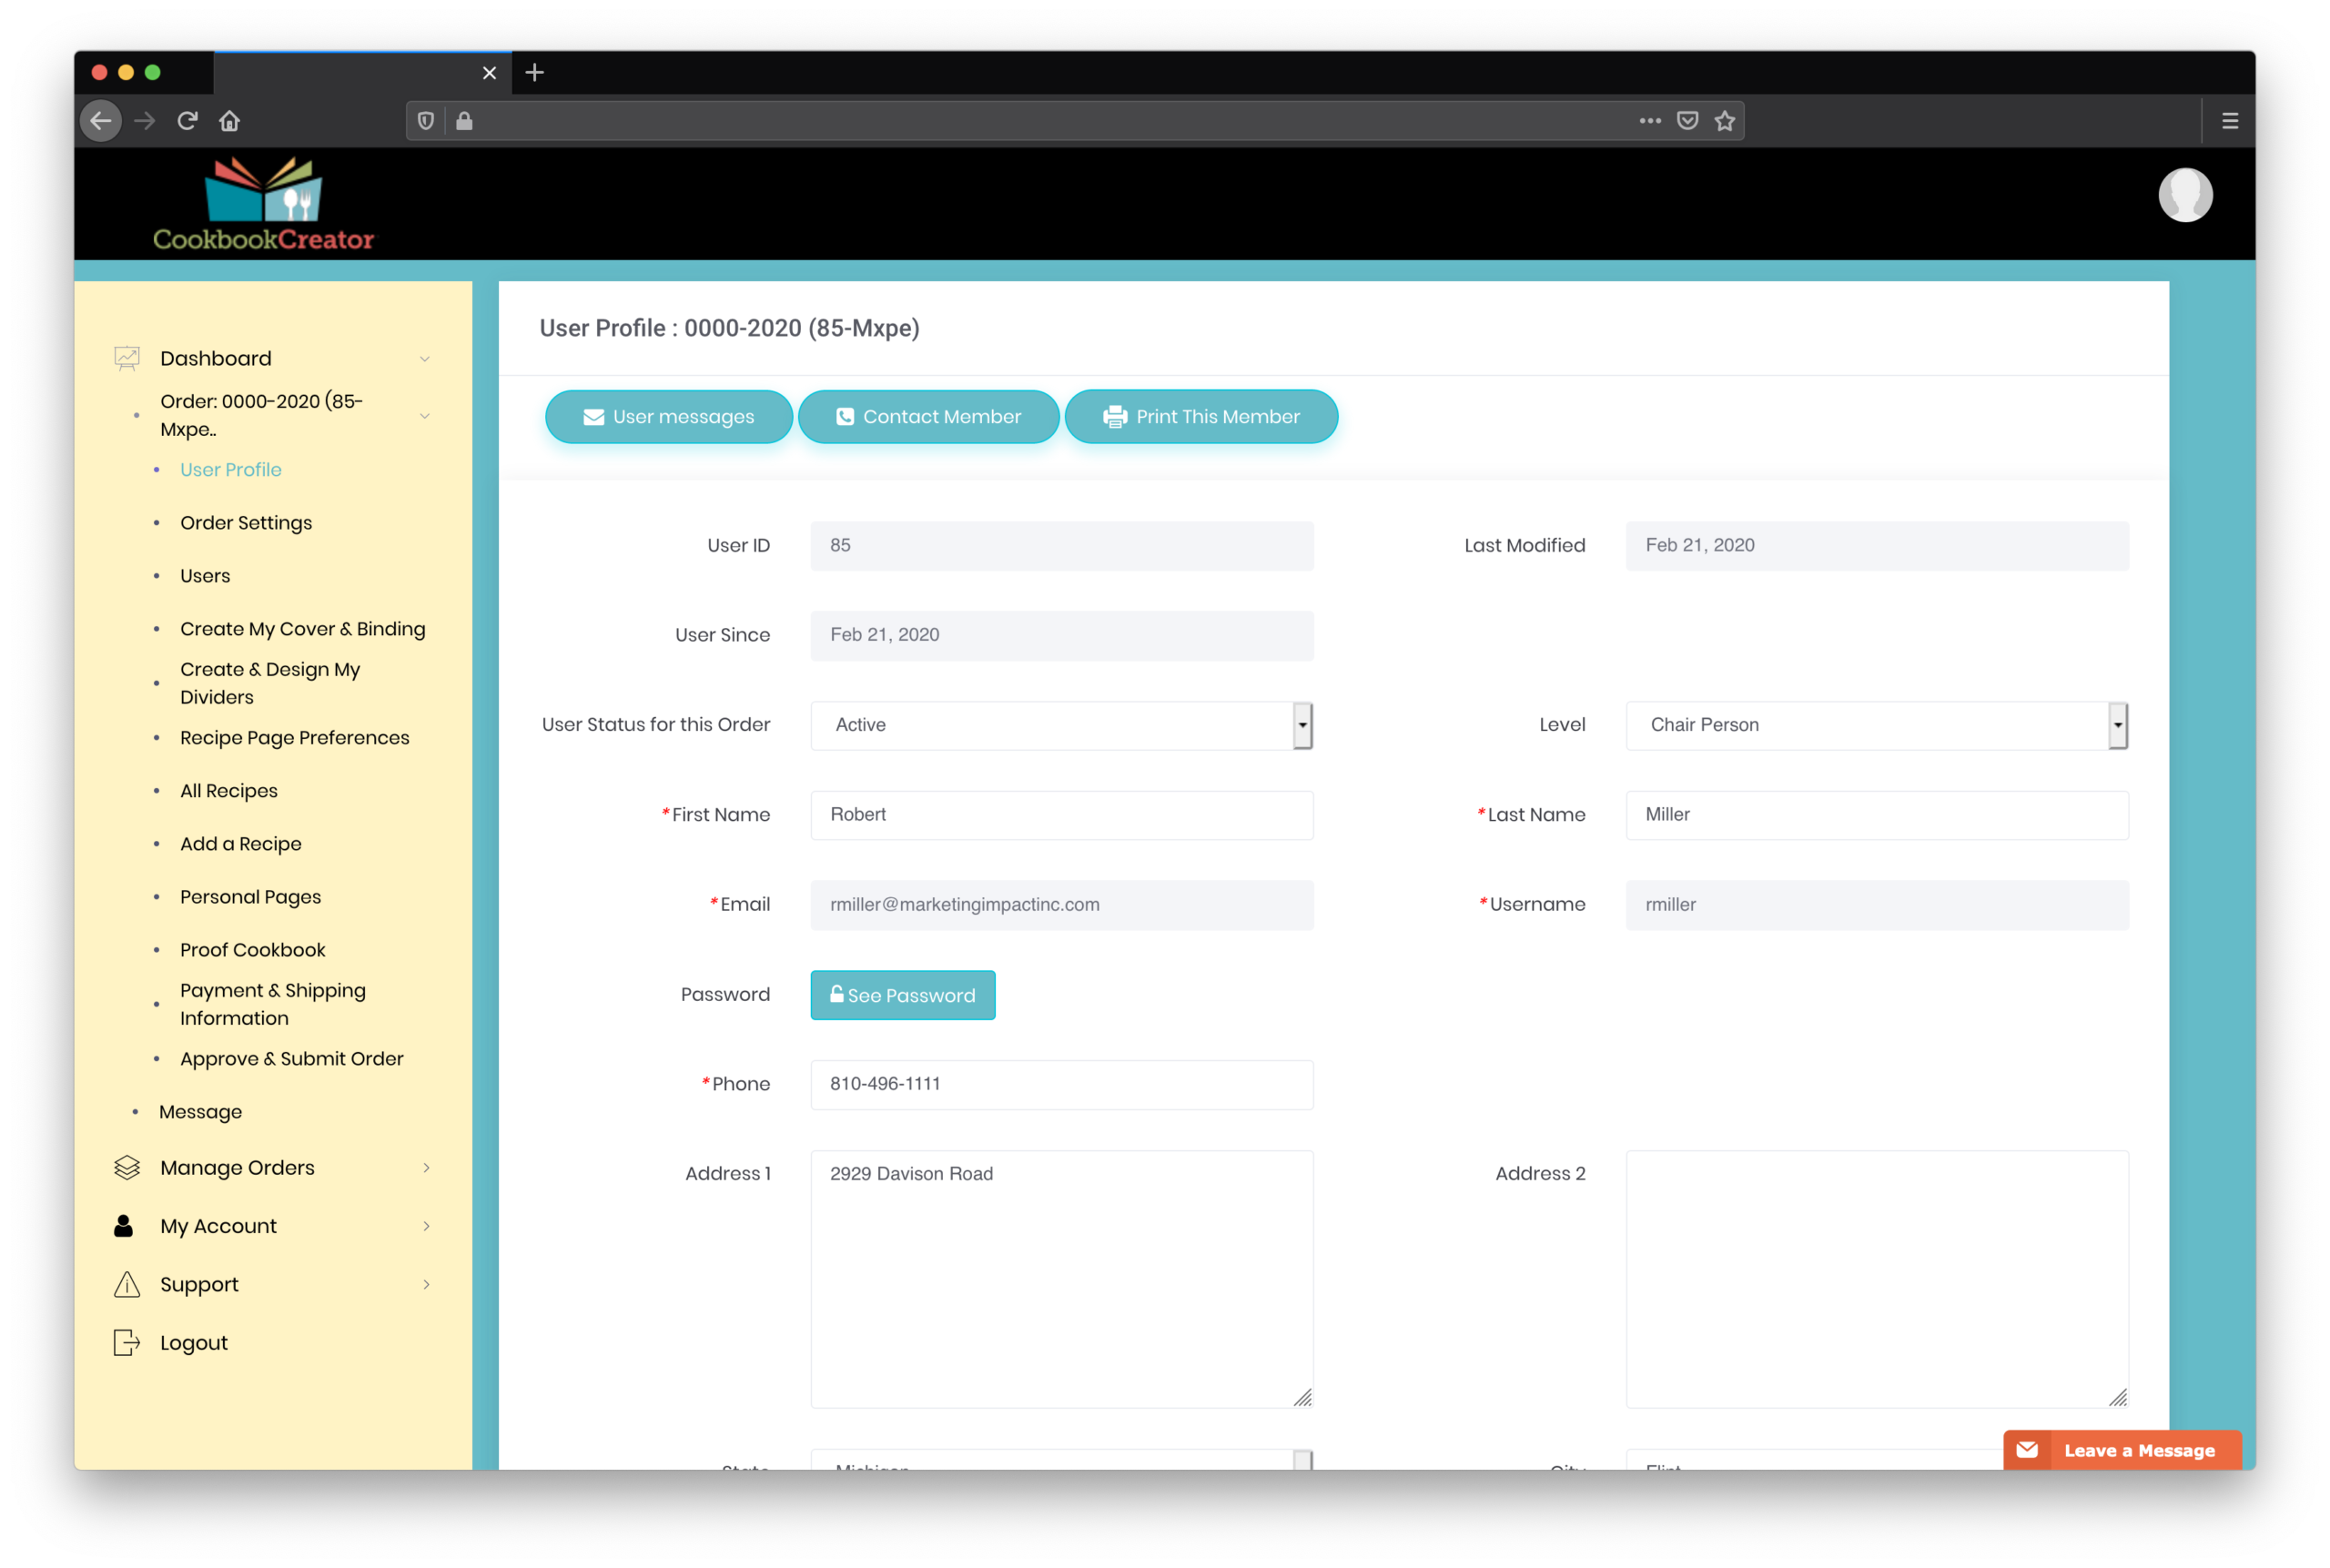
Go to mycookbookcreator.com to create your account today!
Required fields are noted with a red asterisk (*) as you would expect with any online form.
The chairperson is creating the account, and can then add other users, i.e., a co-chairperson or contributors. Each user (chairperson, co-chairperson, and contributor) has different levels of user rights with the chairperson having complete control over all functions of the order and the one responsible for submitting the book for printing. After the chairperson enters information for each additional user, they will receive an email to add their password and then be able to access the account.
STEP 1: Order Basics
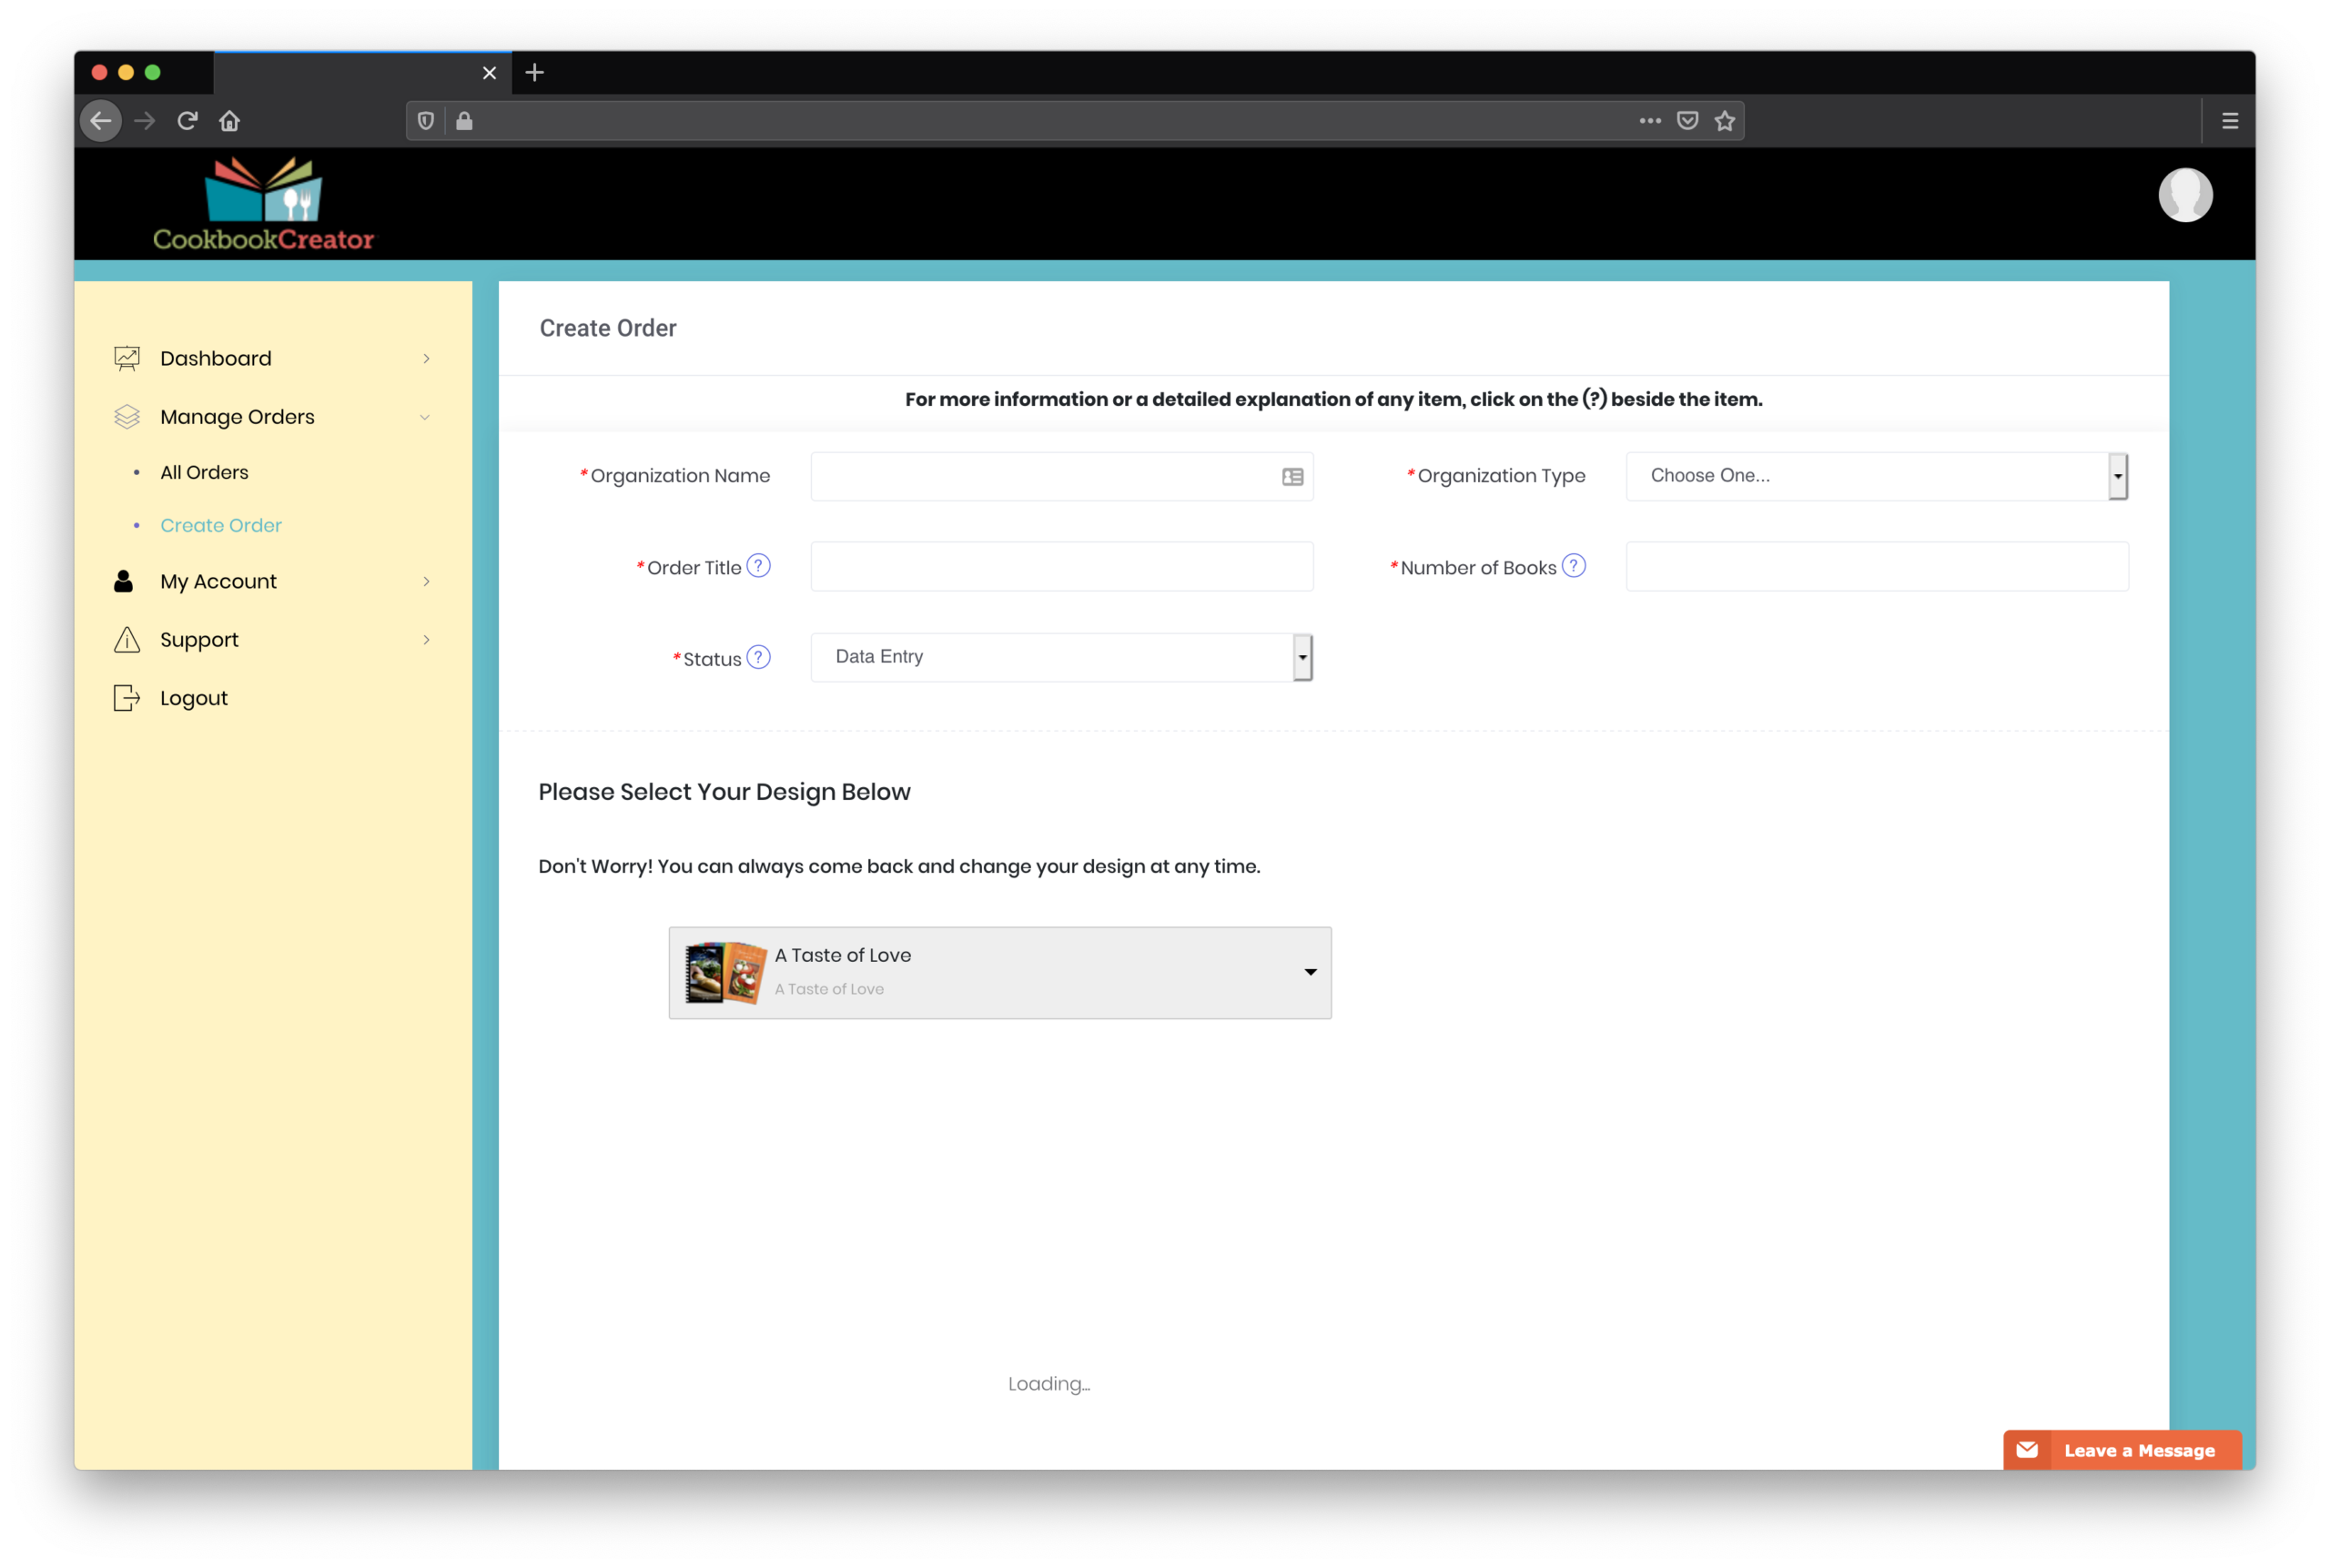
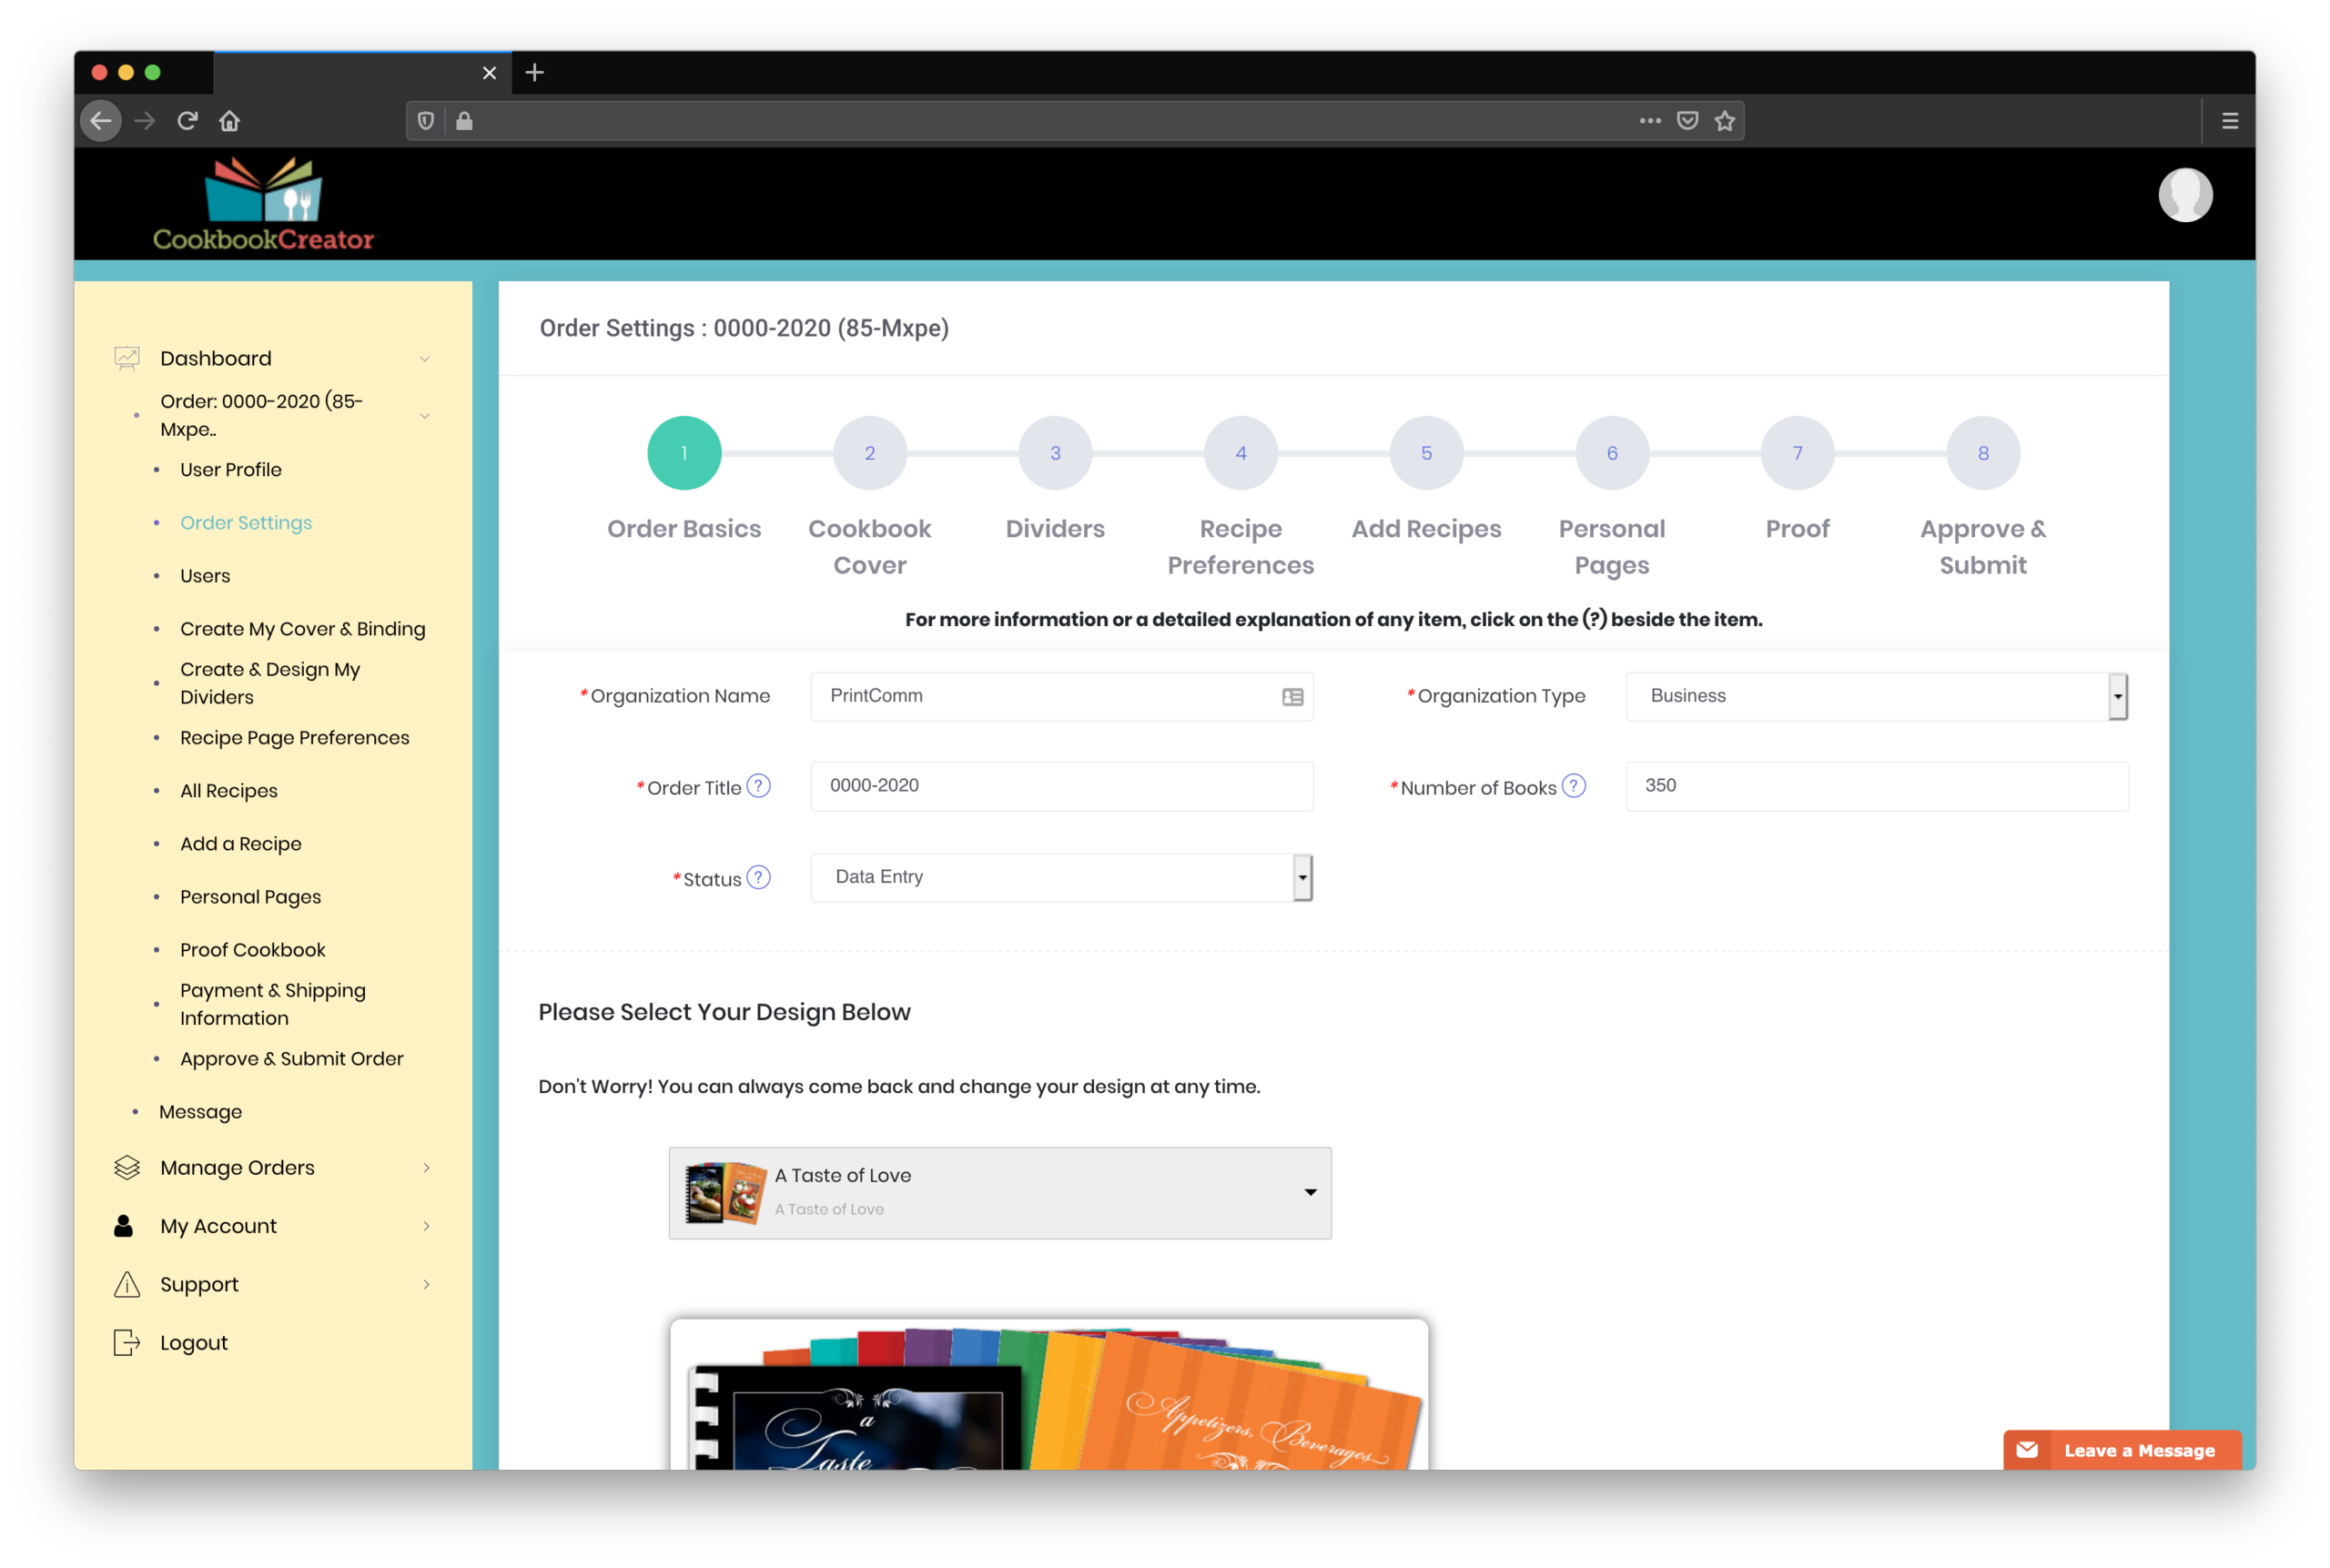
This is information pertinent to your account. The Order Title is used to identify this cookbook and distinguish it from any other cookbook project you may be involved in. Enter the number of cookbooks so the pricing calculator can create an accurate cost for your book.
Choose the Cover and Divider design you like best to get started (don’t worry, it can be changed later if you wish), and click on SAVE at the bottom of the page. Your cookbook is now started! Use the buttons on the Progress Bar, click on the icons, or use the Dashboard menu to proceed to the next step.
STEP 2: Cover and Binding
STEP 2: COVER AND BINDING
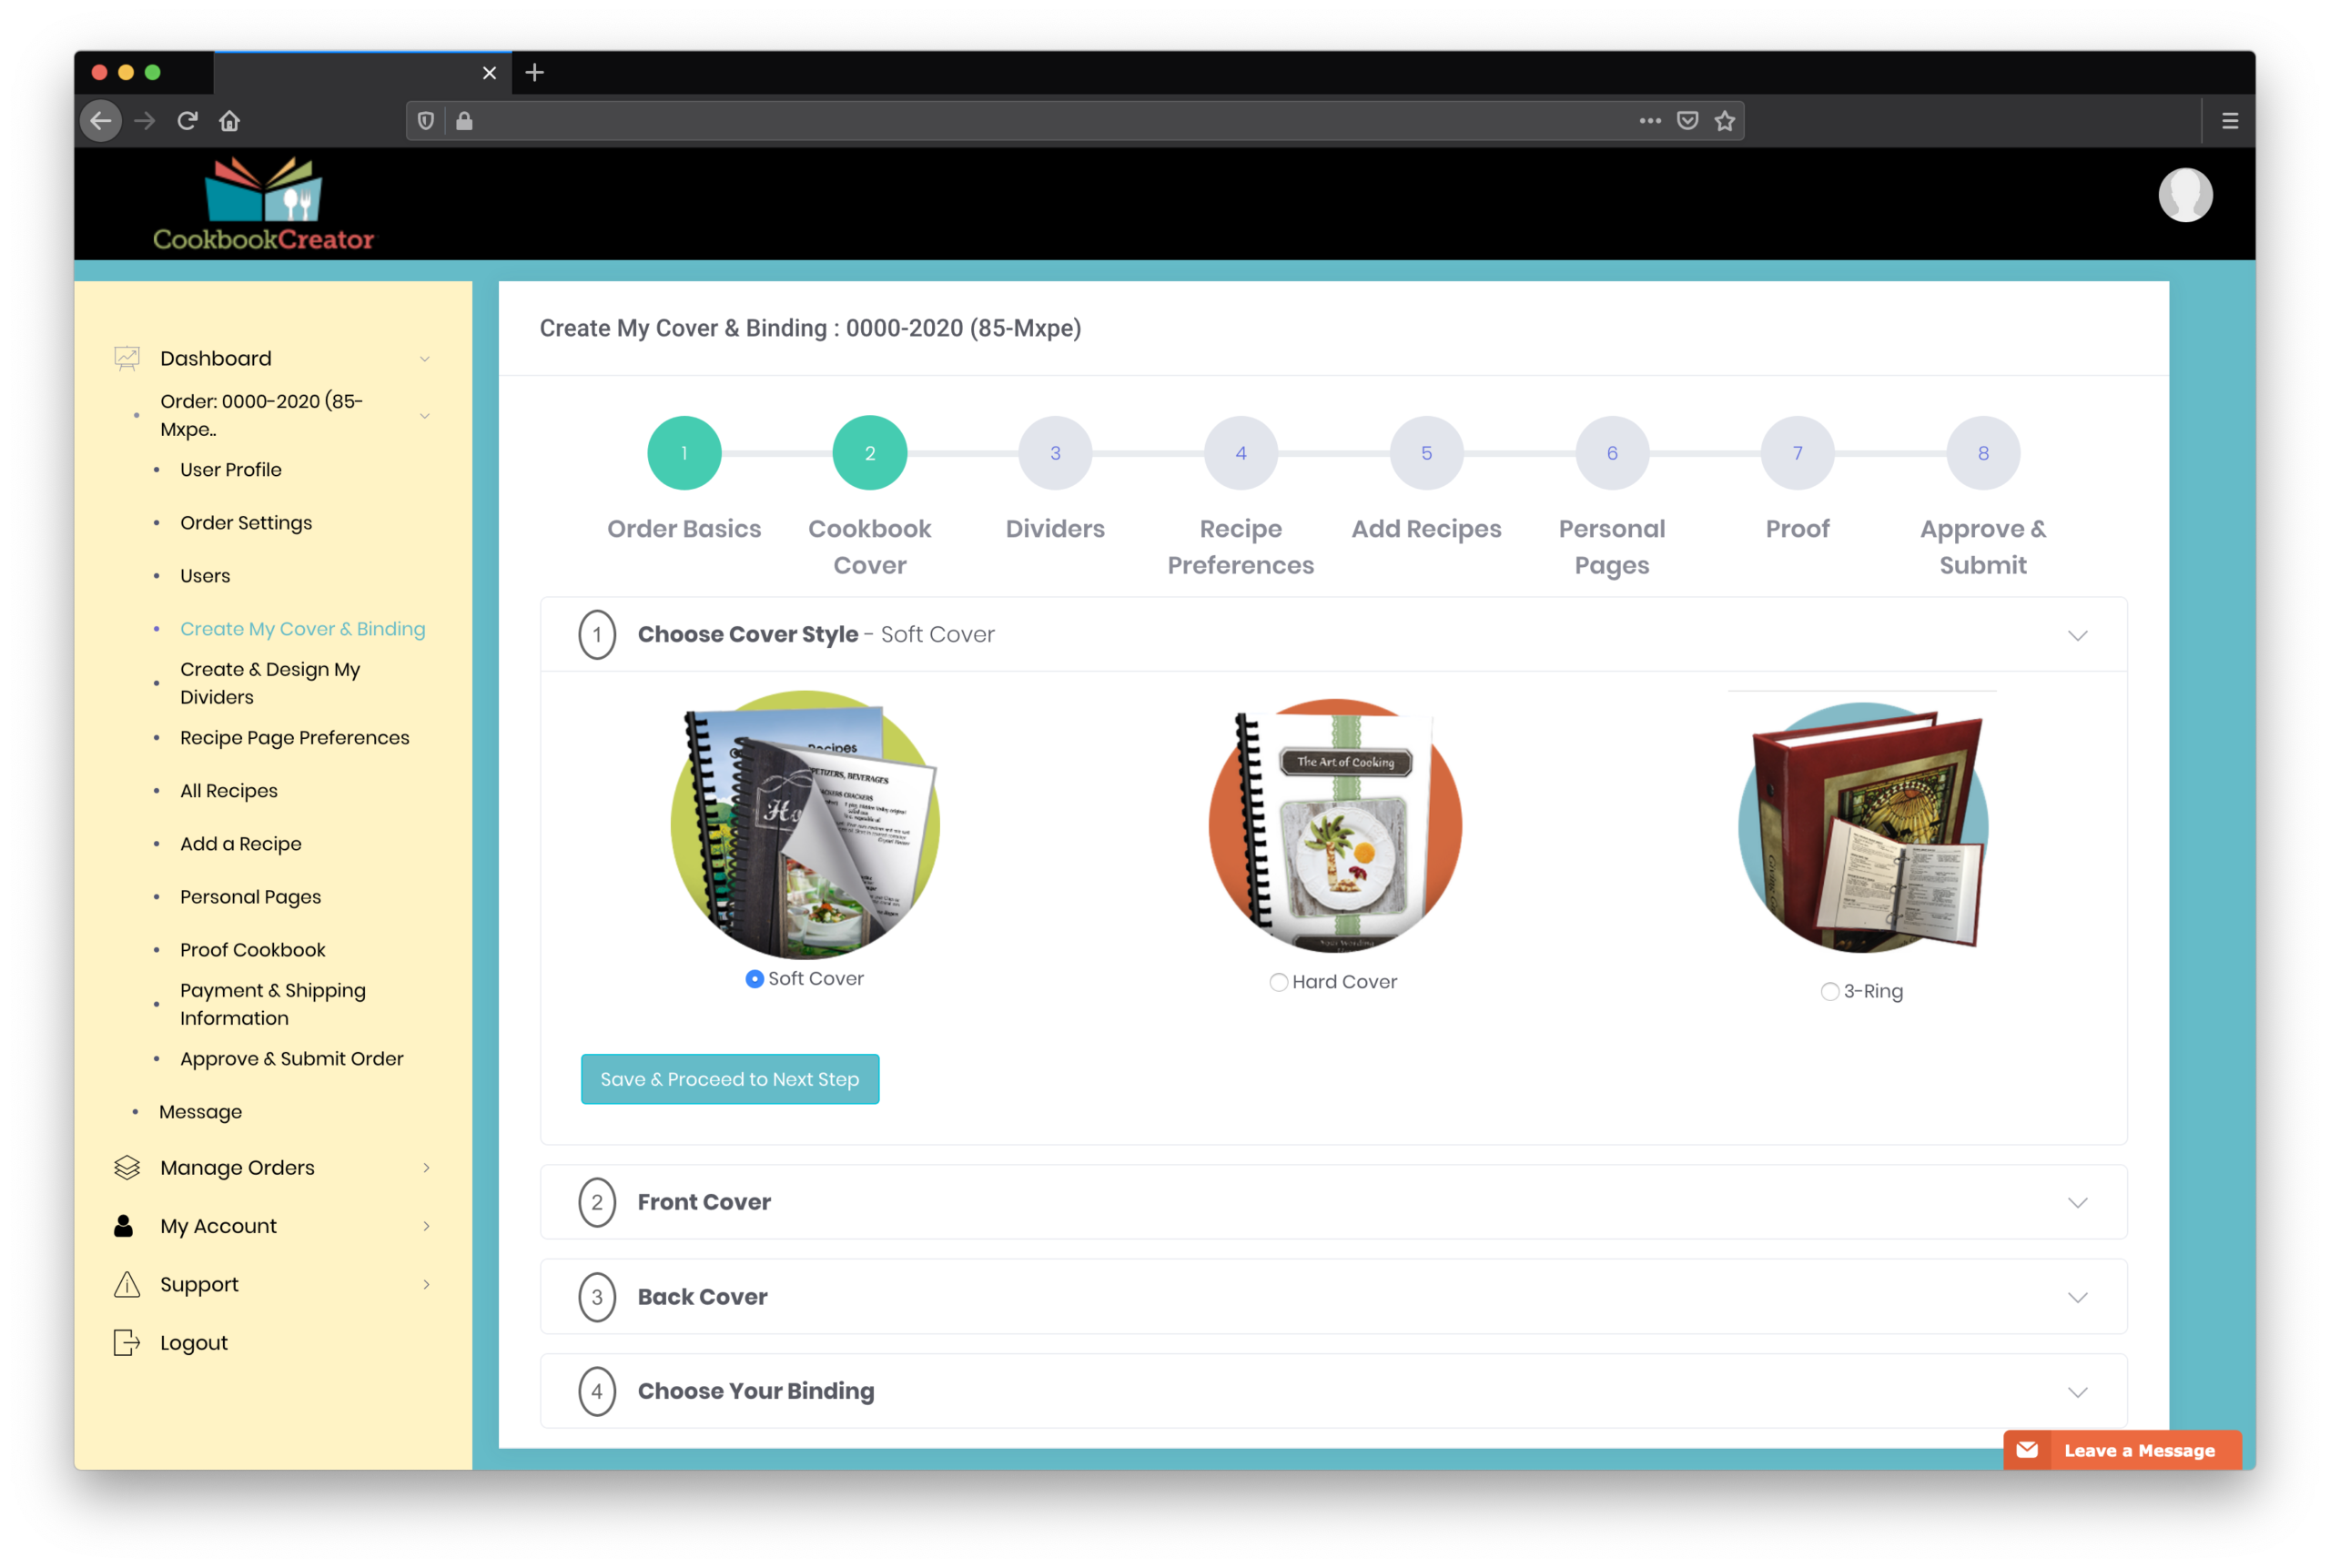
It’s time to get creative! Decide which style of cookbook best fits the needs of your organization, family, or business. Our Soft cover style is the most economical, but the Hardback cover and Padded 3-Ring Binder styles add value to your cookbook that lets you sell it for more, and in return make a greater profit.
STEP 3: Dividers
STEP 3: DIVIDERS
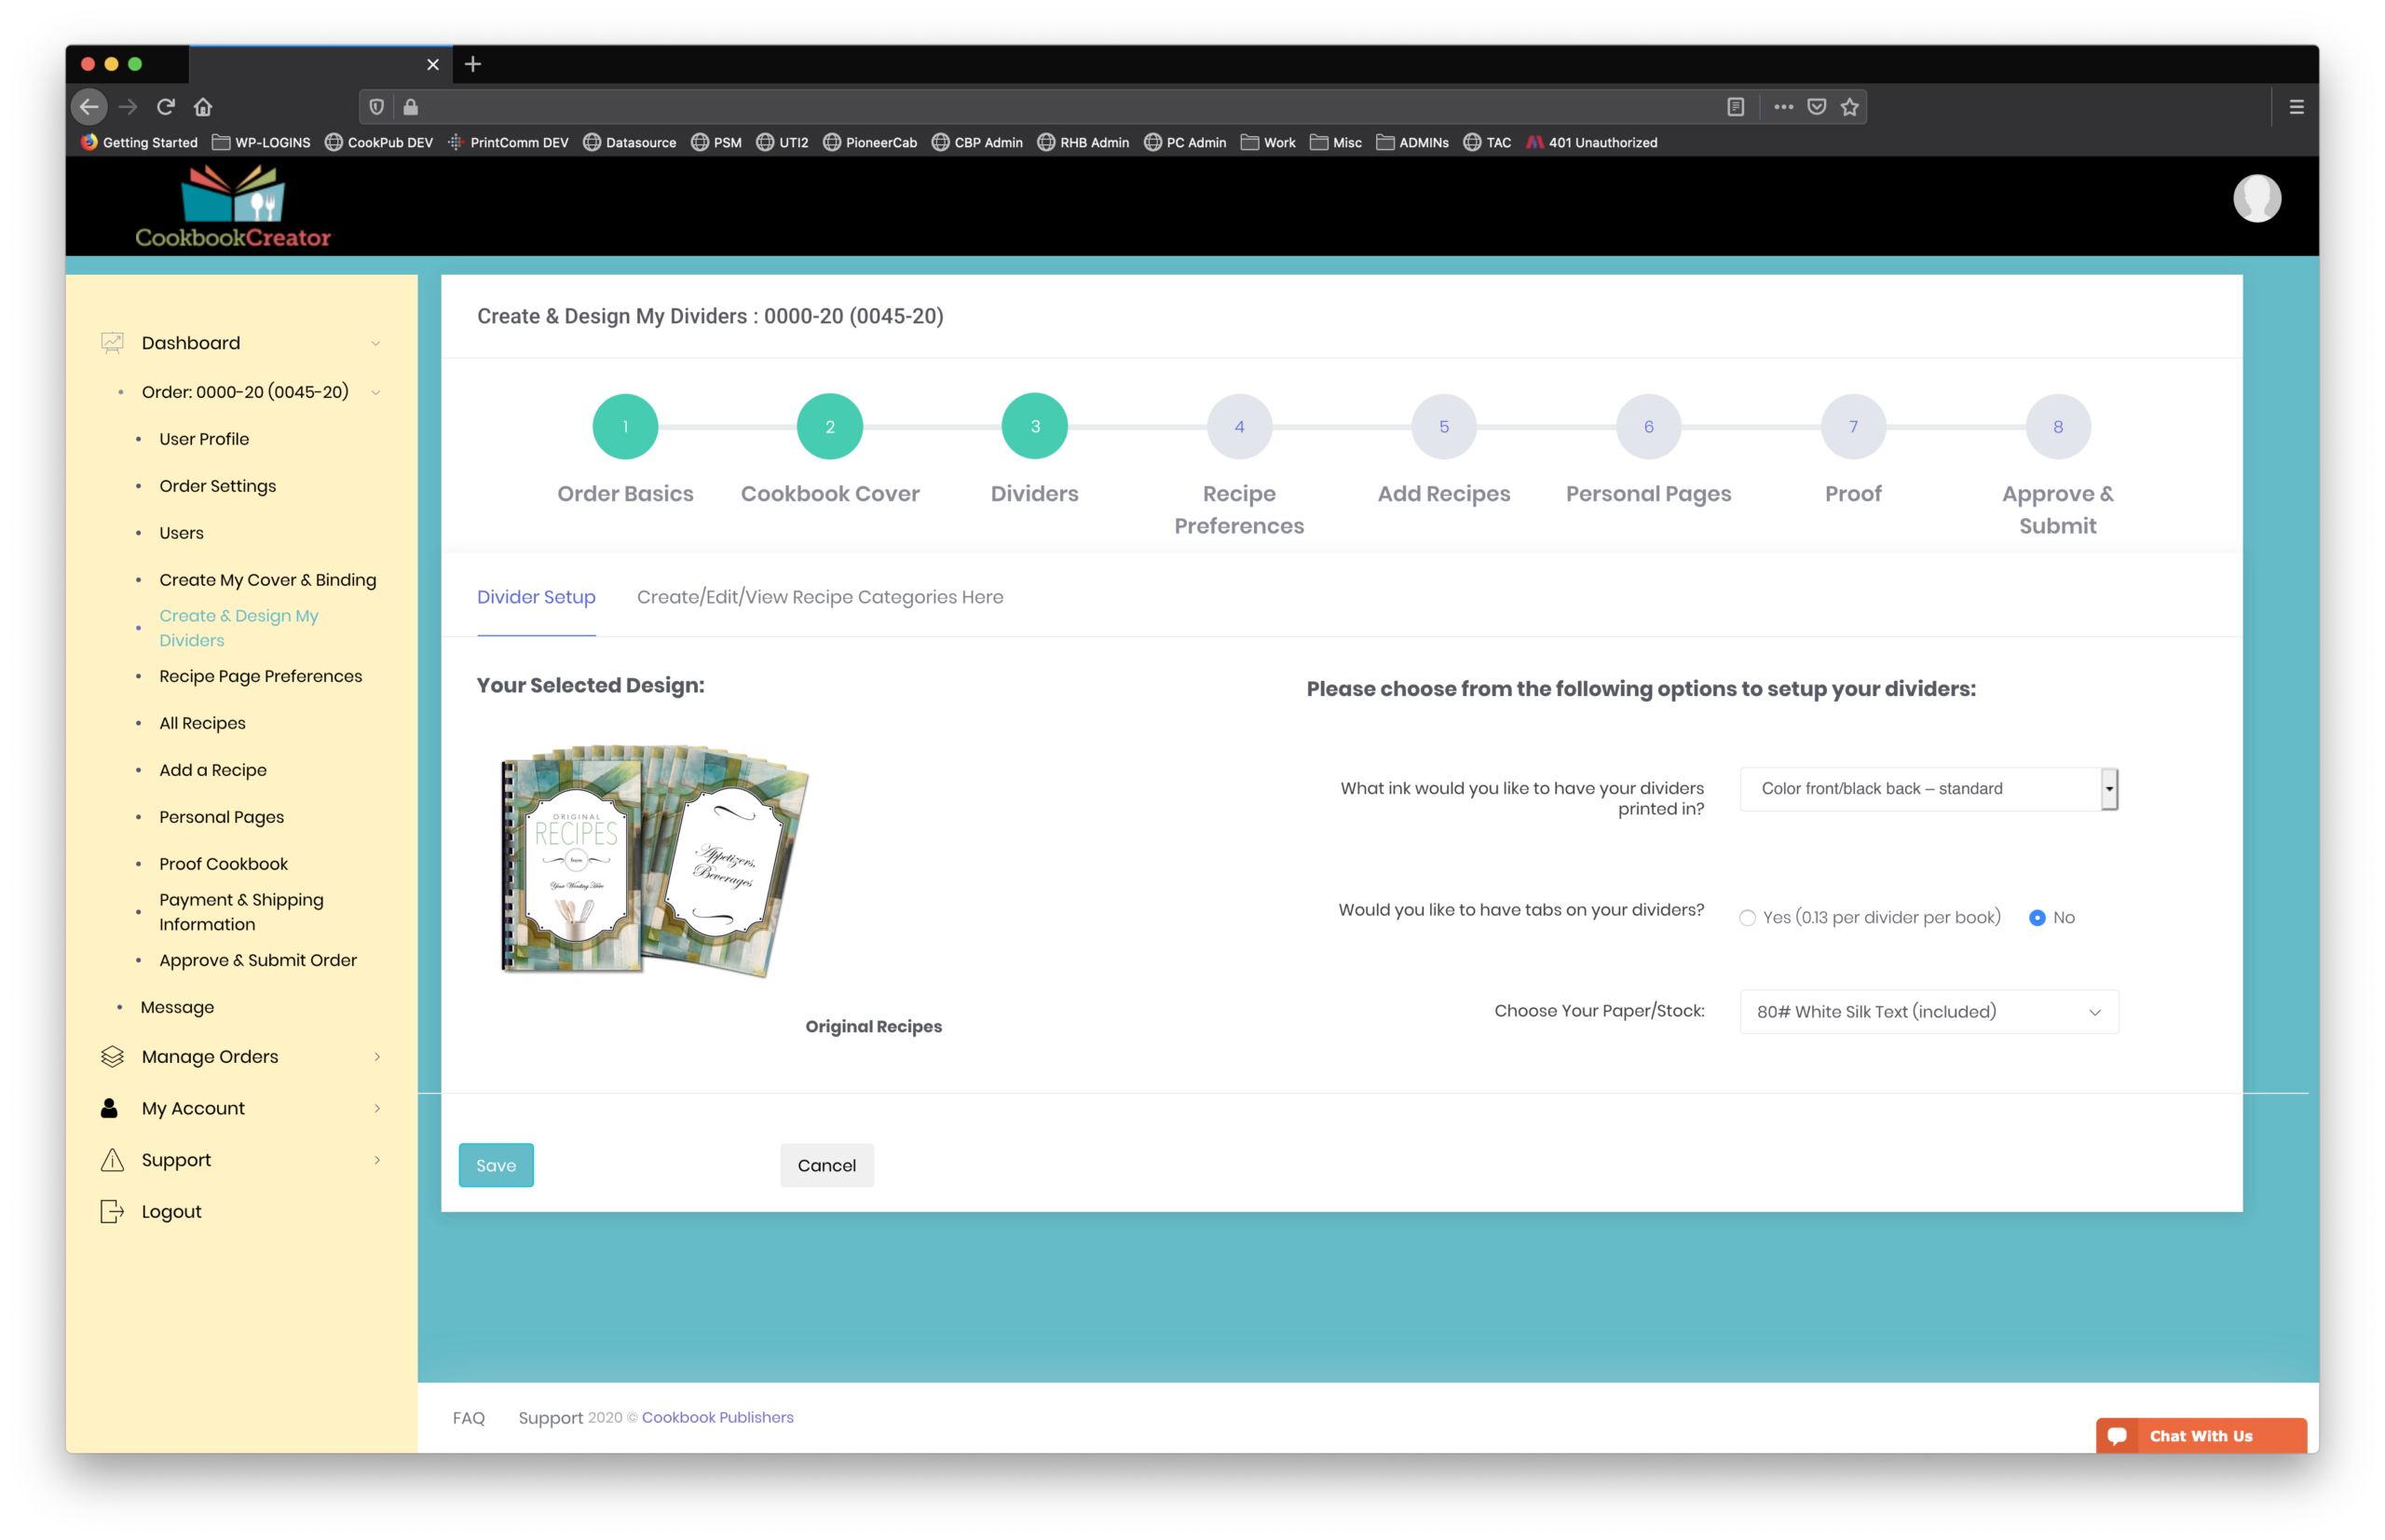
We include 7 full color (or black and white) category dividers in the cost of your cookbook. The full color dividers are printed on 80# coated paper stock, or you can upgrade to cover stock or tabbed dividers. Additional dividers can be added if you have more than 7 categories, and you can even change the name of our 7 categories to fit your needs.
STEP 4: Recipe Preferences
STEP 4: RECIPE PREFERENCES
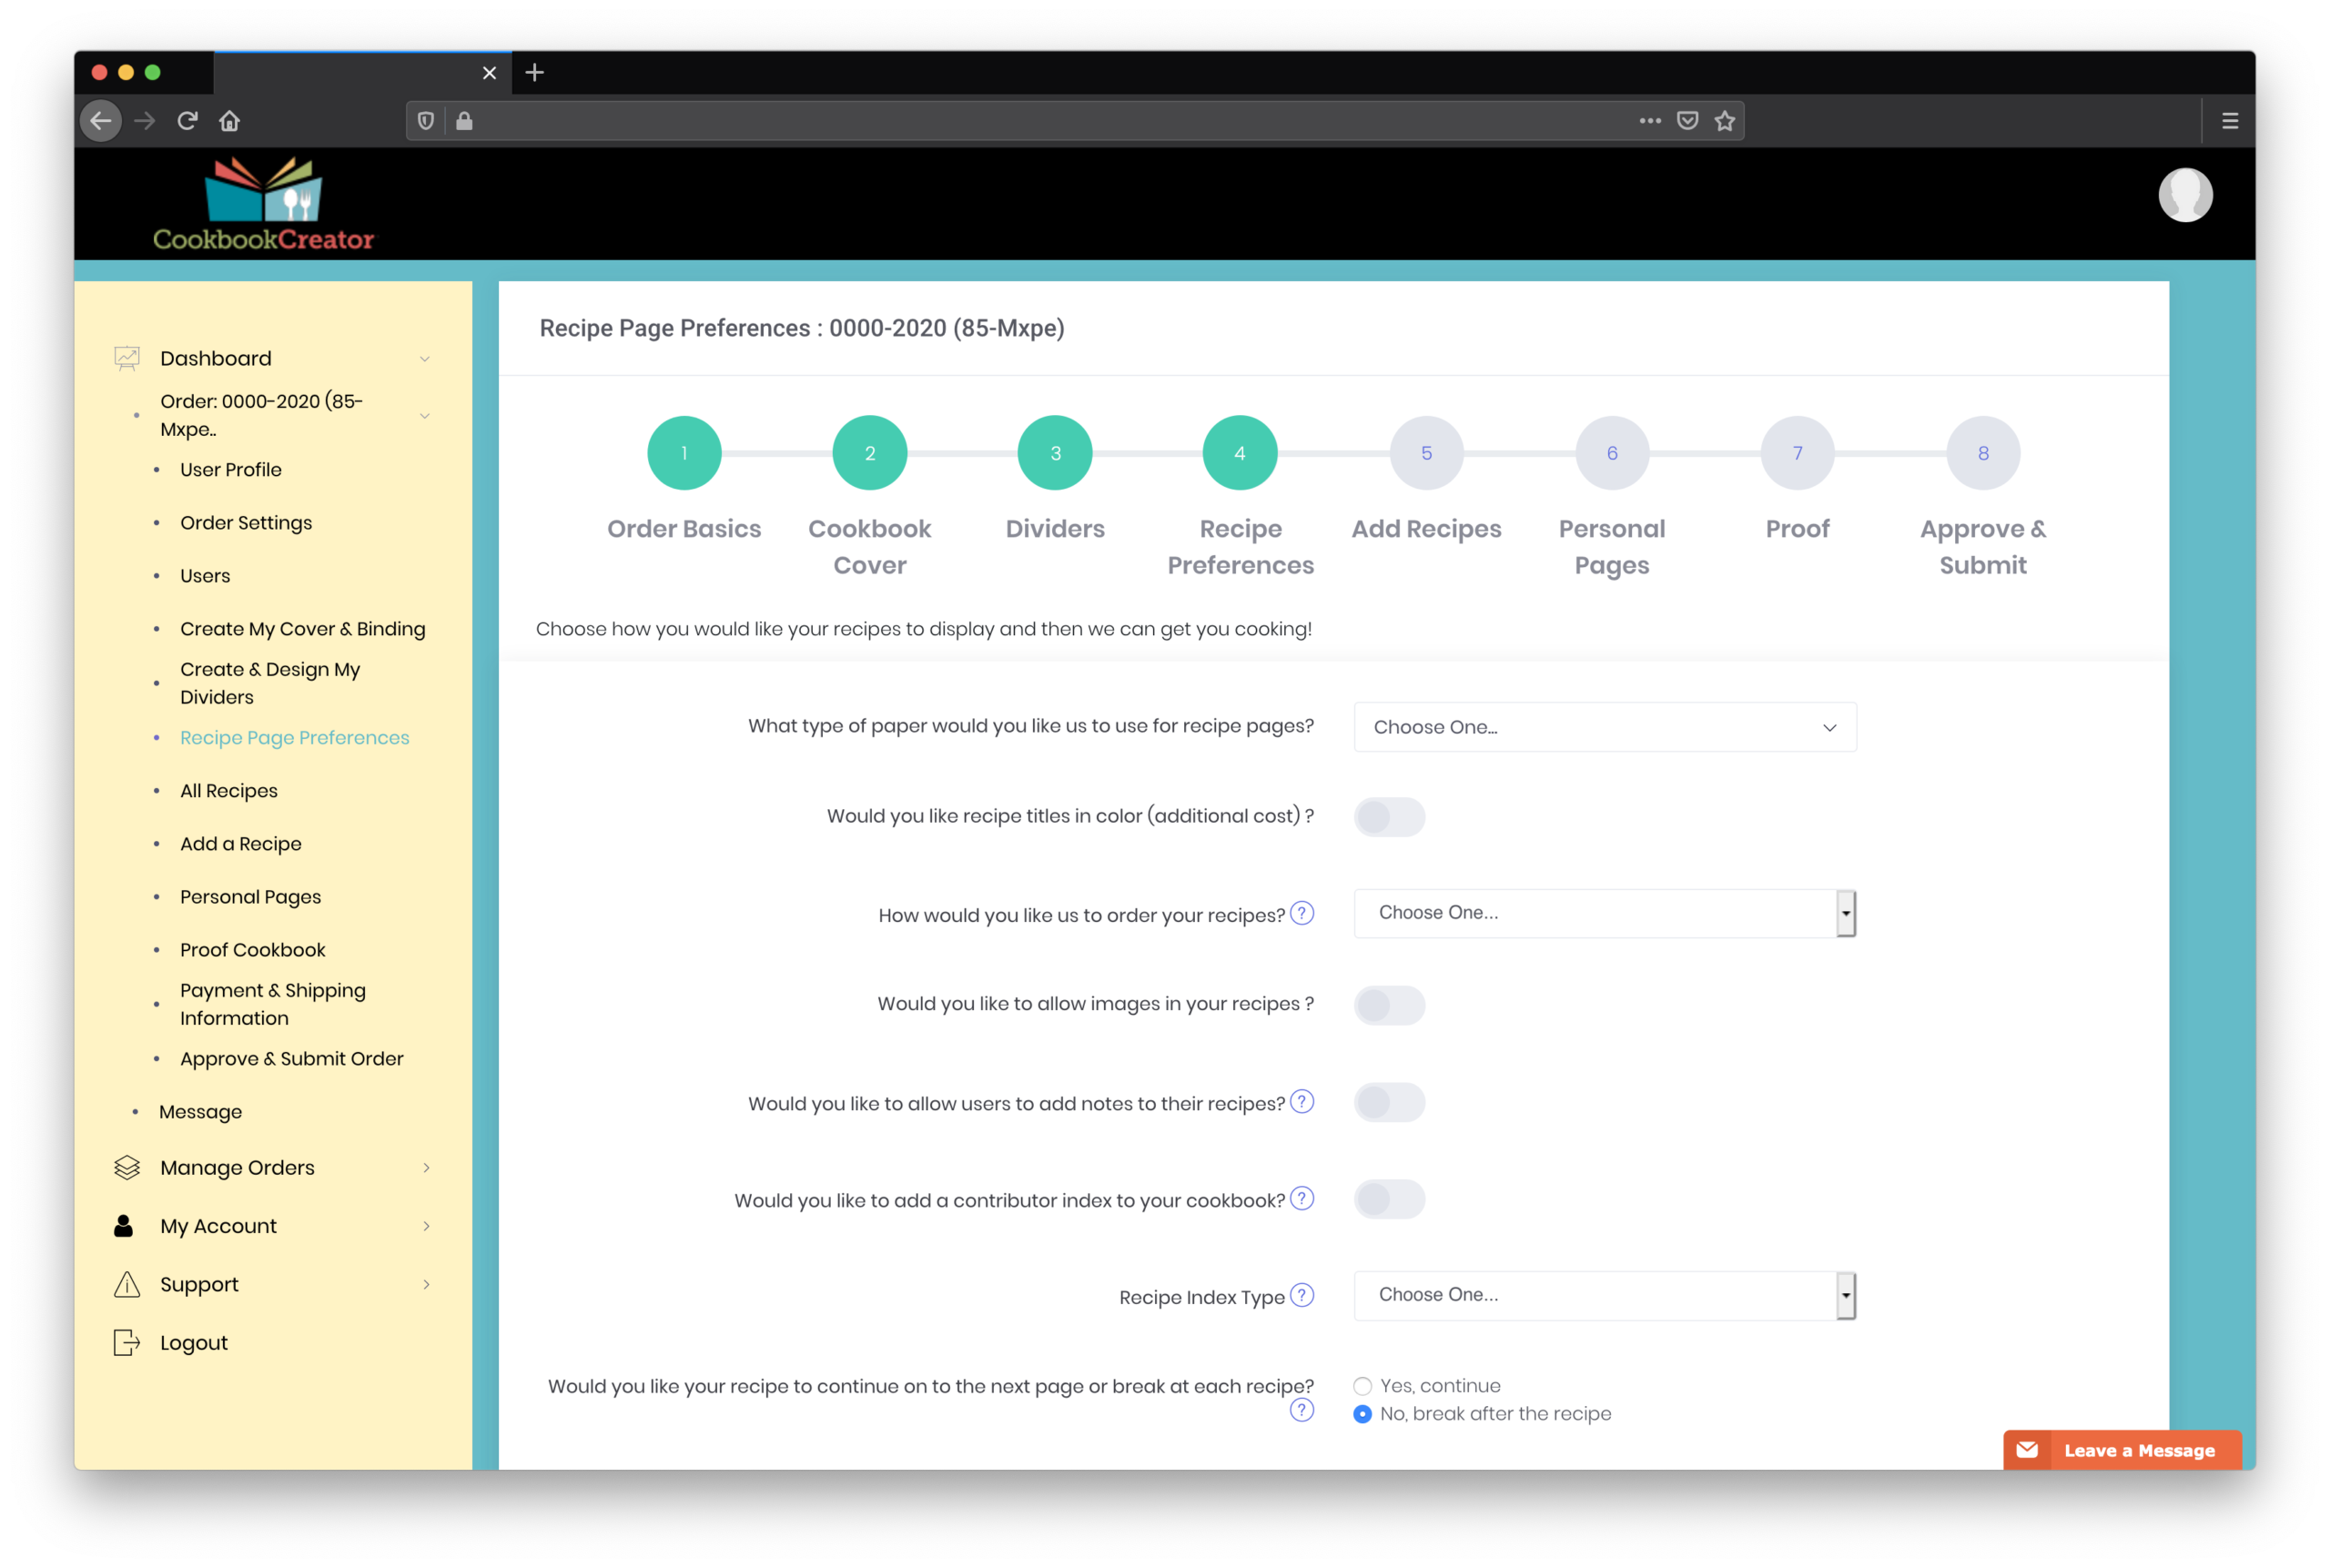
Cookbook Creator® gives you the ability to choose whether you want photos/images on the recipe pages – in color or black and white! – and if you would like to have recipe titles printed in an ink color other than black. (The rest of the recipe page is still printed in black ink, only titles may be printed in color.) You can also upgrade the paper used for the recipe pages to 80# silk text, the same stock our full color dividers are printed on. An excellent feature when choosing to include color photos in your cookbook!
Decide on the rest of the features you want included on recipe pages – at no additional cost! You don’t have to pay for extras like Recipe Notes, Recipe Icons, Sub-categories, Recipe Page Fillers, or Recipes Not Continued formats. No other company offers this flexibility and personalization of your cookbook for free!
STEP 5: Recipes
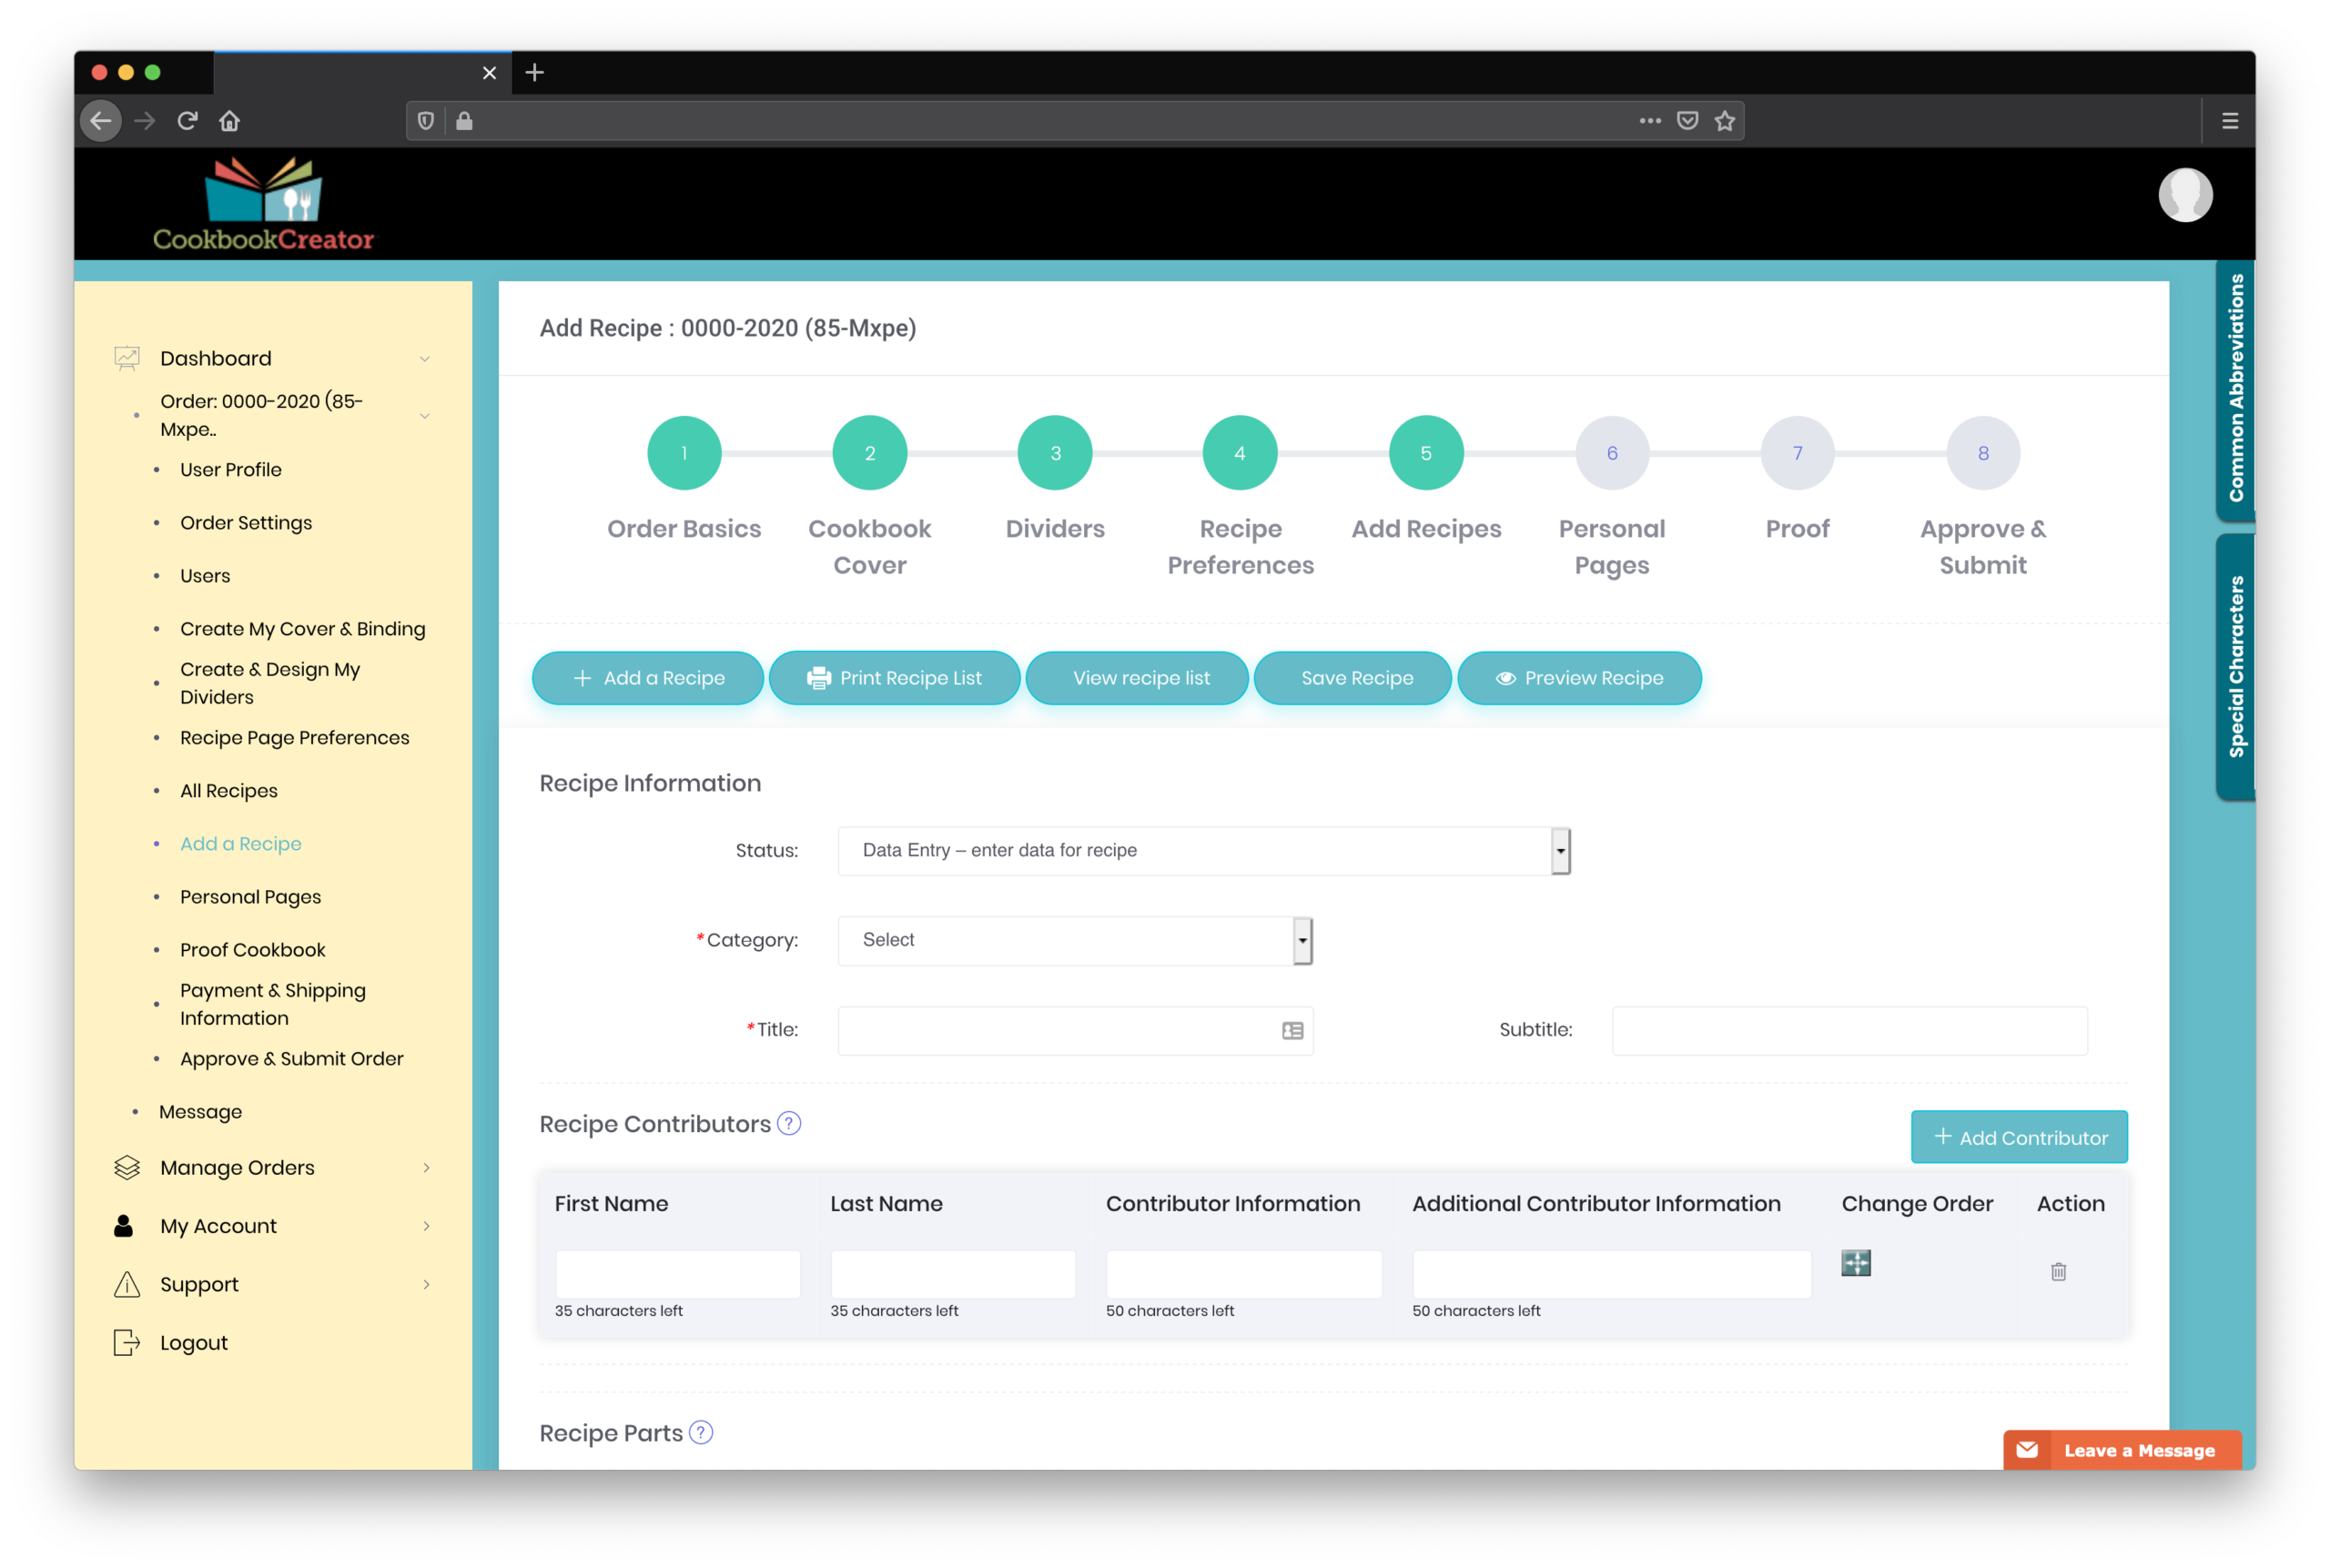
STEP 5: RECIPES
Type your recipes, add images (if ordered), preview, save and approve to have your special dishes included in the cookbook. Be sure to check recipes for accuracy as they are entered so everyone who buys your cookbook can make the delicious recipes that are included.
STEP 6: Personal Pages
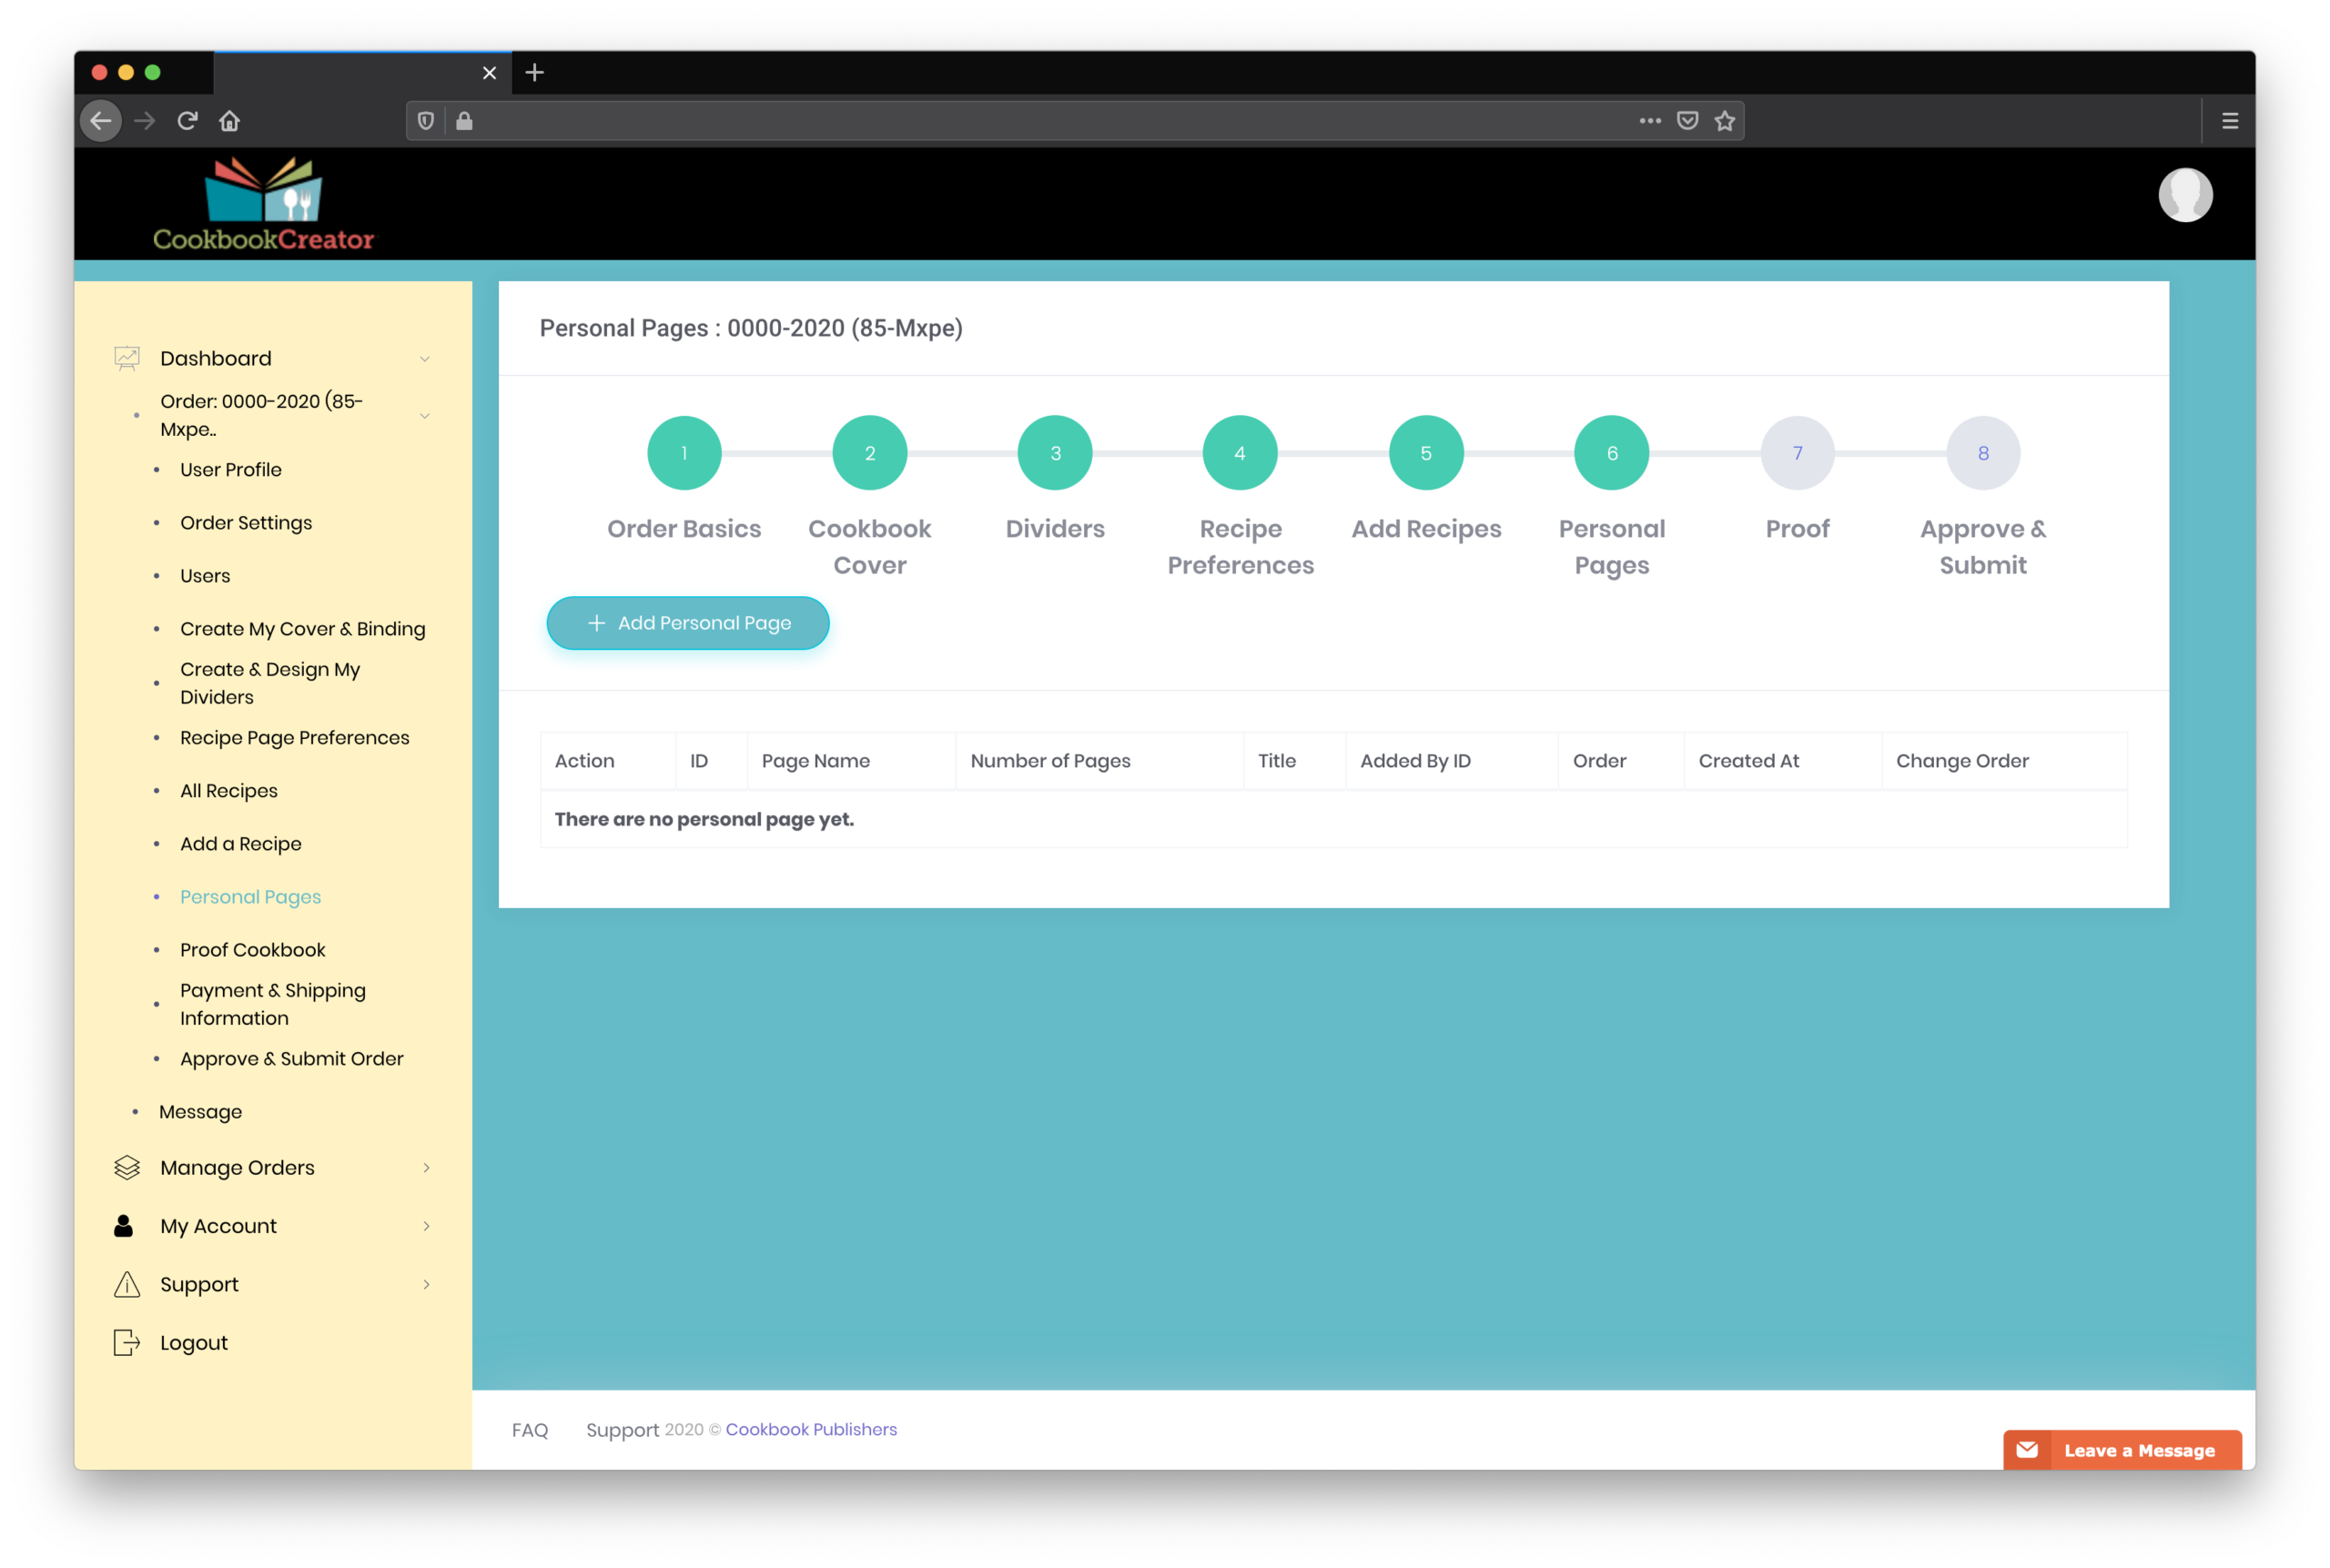
STEP 6: PERSONAL PAGES
Add a Title Page as the first page of your cookbook for a professional appearance. Other suggestions for Personal Pages are an Expression of Appreciation to thank those who helped put it together and who purchase it, a photo – in color or black and white – to highlight your organization or a special member, and an Officers/Committee page to recognize elected officials in your organization. Other options could be additional photo pages, a history of your organization or family, or a letter from the owner/president of your company.
A word about the formatting of Personal Pages – the font and layout of your personal pages is determined by the recipe format chosen so there is a cohesive appearance throughout the book. Because of this, it is best to decide on the recipe format before typing the Personal Pages to keep recipes and Personal Pages in the same format.
STEP 7: Proof
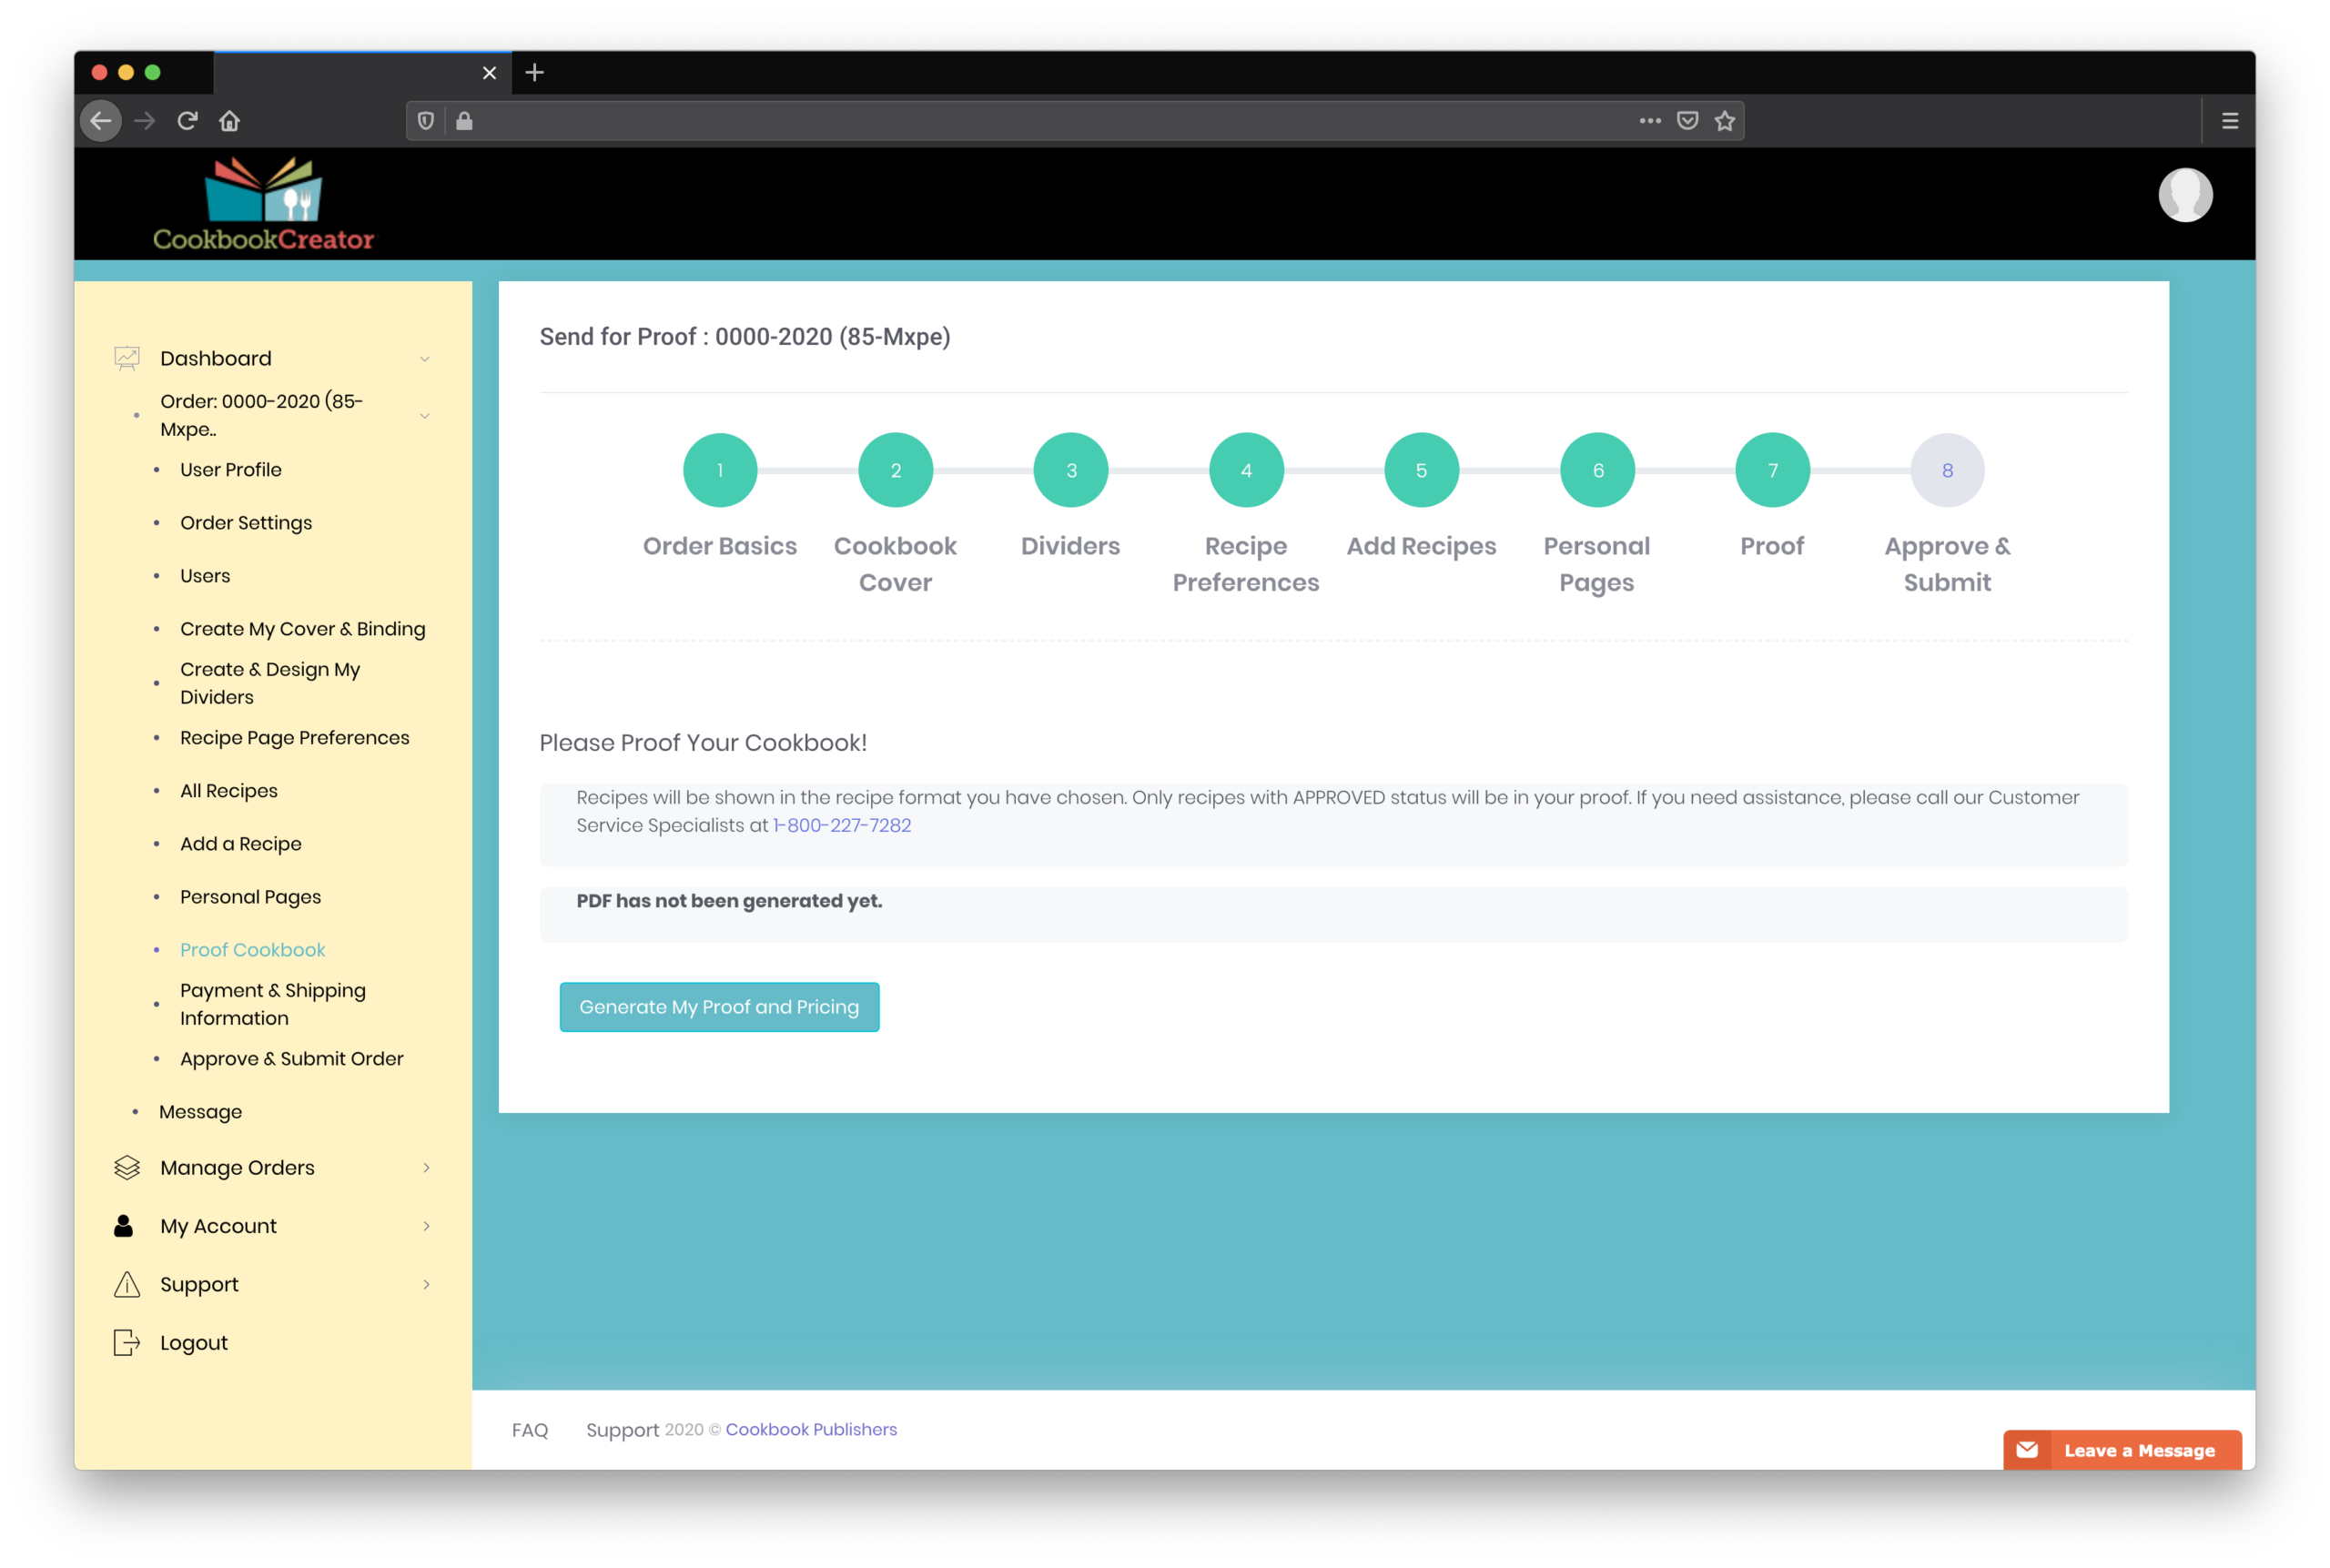
STEP 7: PROOF
The chairperson and co-chairperson can request a PDF proof of the cookbook at any time, and as often as desired. There is no charge for the PDF proofs from Cookbook Creator®. We encourage you to request several proofs along the way to make sure everything is looking the way you expect.
- Check the recipes and contributor names again for accuracy. Better to catch errors now than after the books are printed!
- How do any images/photos you uploaded look? If they are blurry or look grainy (pixelated) in the proof, they will look blurry or pixelated in the printed book. Please use only images with a minimum dpi (dots per inch) of 300 when the image is shown at 100% of its size. Do not use images from the internet; they are not created for print (and may be subject to copyrights).
Additional information about image sizes and resolution: If you are uploading an image that is 5 inches wide x 7 inches high and 300 dpi, the resolution of the printed photo will look fine in your book, as long as you don’t try to make the image larger to fill a bigger space. For instance you will not be able to keep the same quality if you enlarge a 5×7 inch photo to fit a 3 ring binder that is 17.25 inches wide x 11 inches high. The dots will spread apart and the image will be blurry/grainy/pixelated. However, if you take that same 5×7 inch photo and want it printed as a 2×3 inch photo, the quality will be acceptable because the dots are being pushed together for the smaller size photo rather than spread apart for a larger size photo.
Images sized in pixels use a little different formula to calculate acceptable print quality. In general, every 300 pixels of width will equal 1 inch of output (printed) size. Again, image resolution can generally always be reduced, but increasing the resolution of an image will lead once again to pixilation (blurry/grainy printed image). Images must be at least 1350 pixels wide (4 inches) to avoid pixilation and be accepted by the software.
You will get a breakdown of your order cost with each Proof so you know exactly how much the book is going to cost you, based on current specifications. When specifications change (i.e. number of books, number of pages, etc.) our price matrix will update your cost accordingly.
STEP 8: Approve and Submit
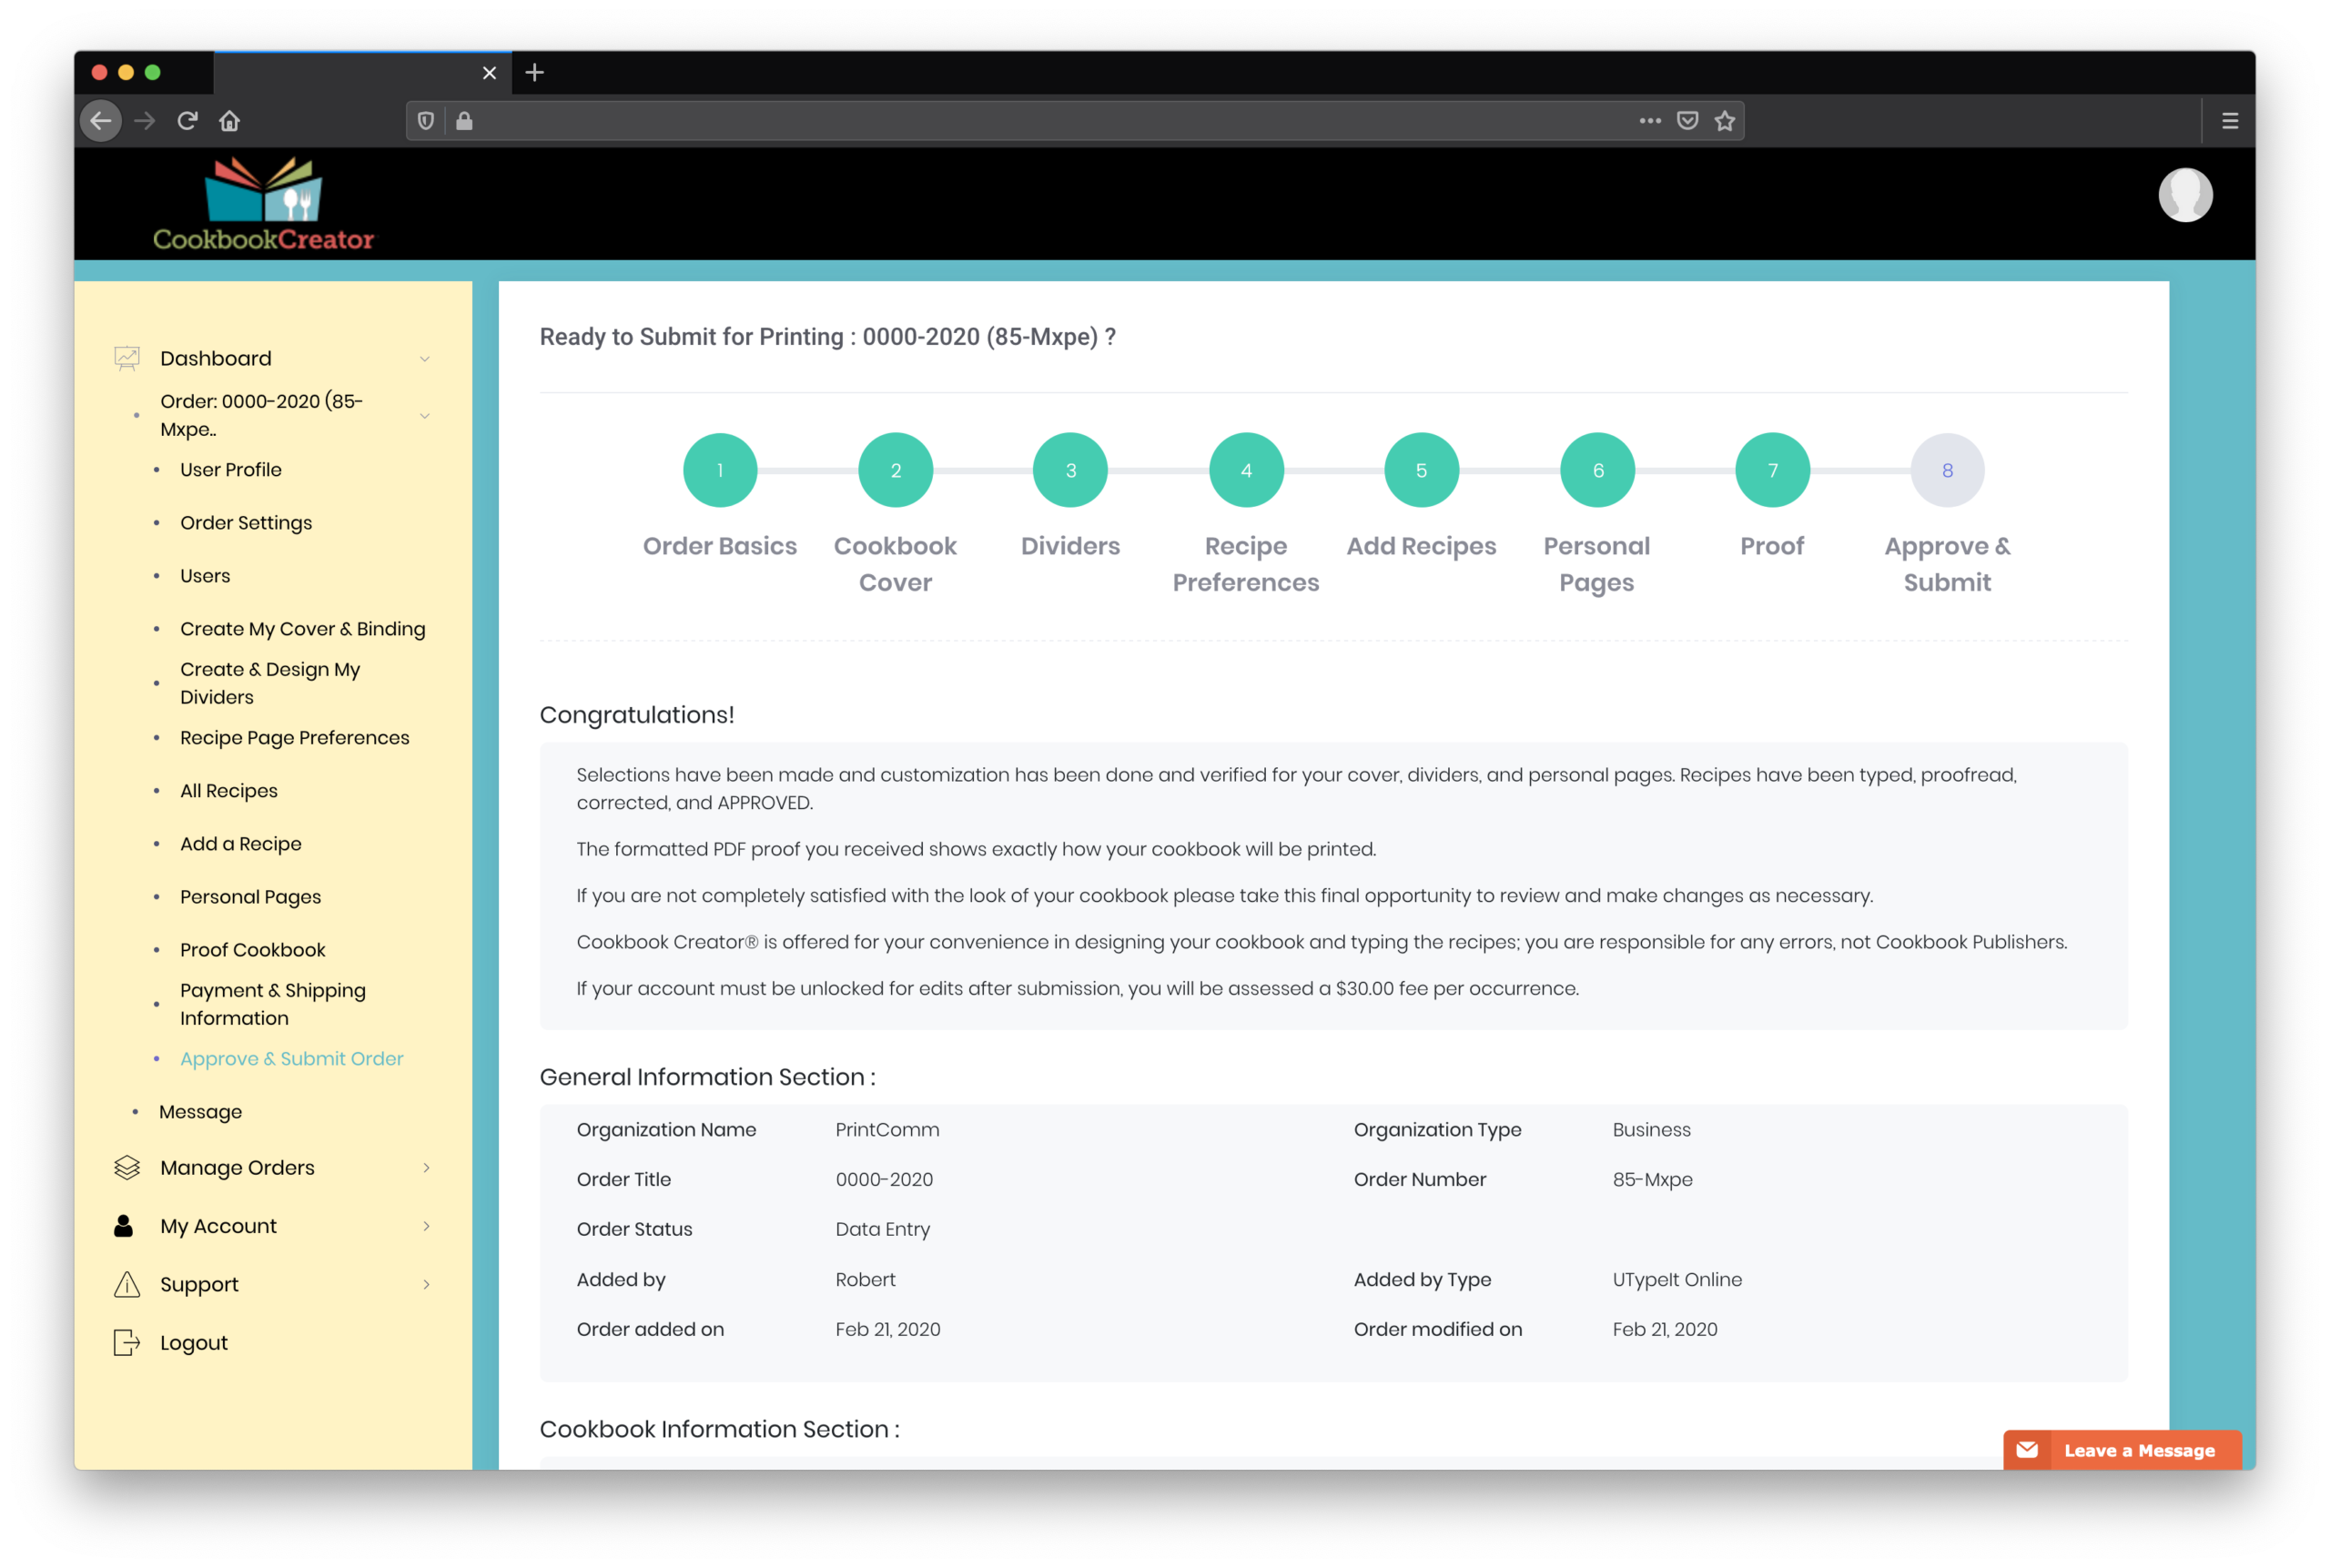
Review the order, agree to terms and conditions and submit to Cookbook Publishers for printing. Individuals and businesses will receive an email to make their prepayment online; qualified organizations will be provided our Contract for proper signatures that will need to be submitted before production can begin your order.
