STEP 4 — Recipes
Choose Your Recipe Format
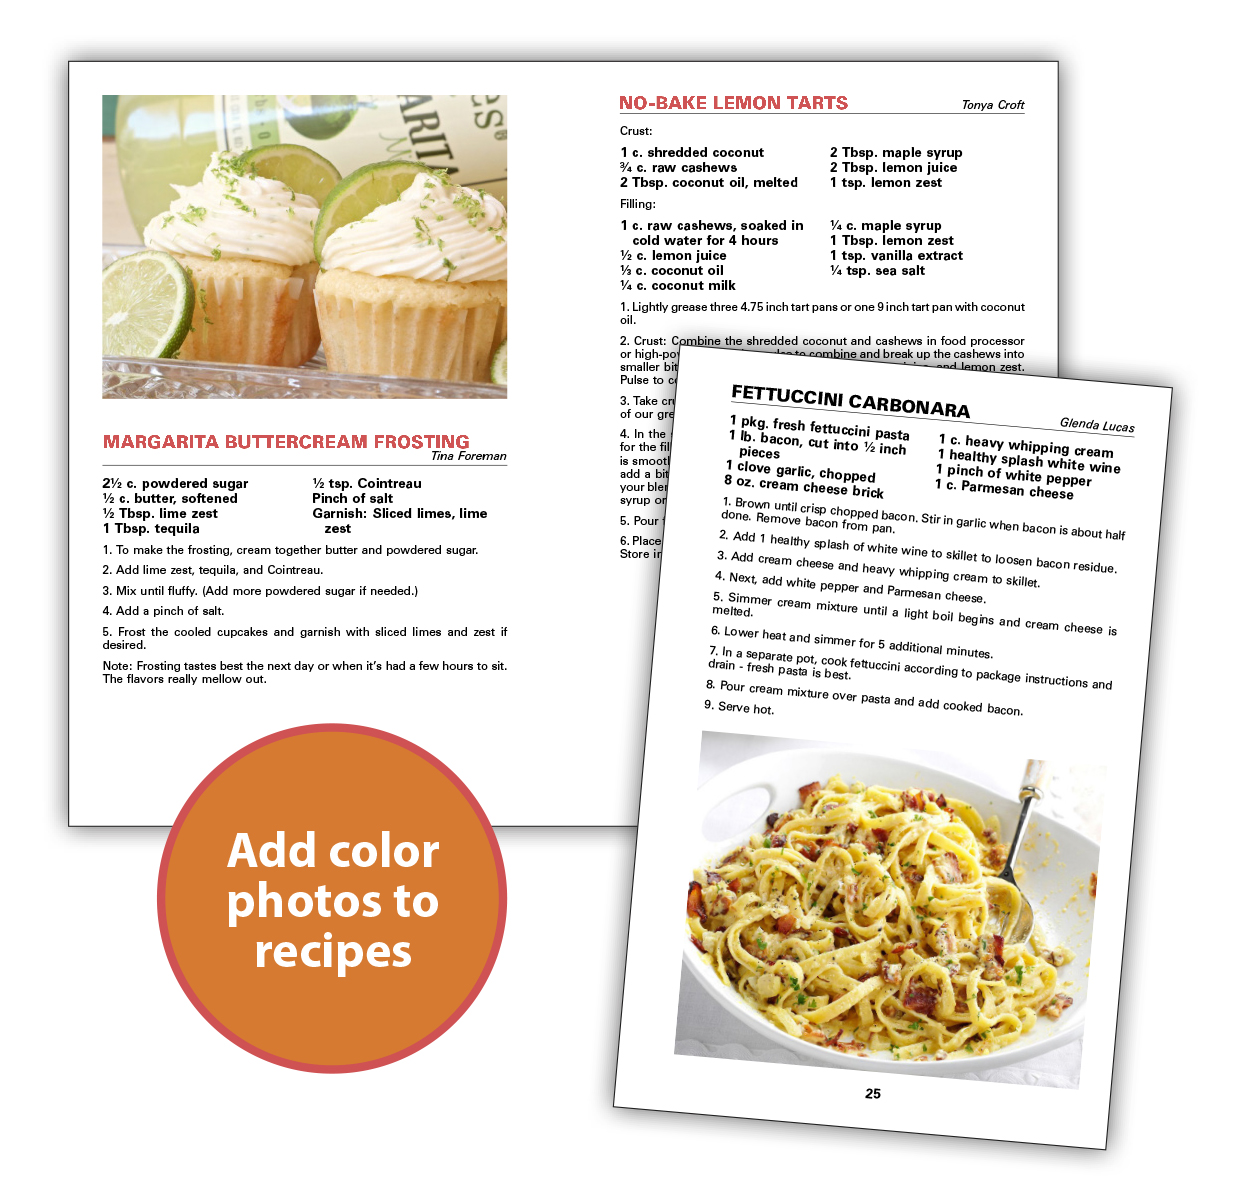
NEW! Color Printing for Recipe Pages
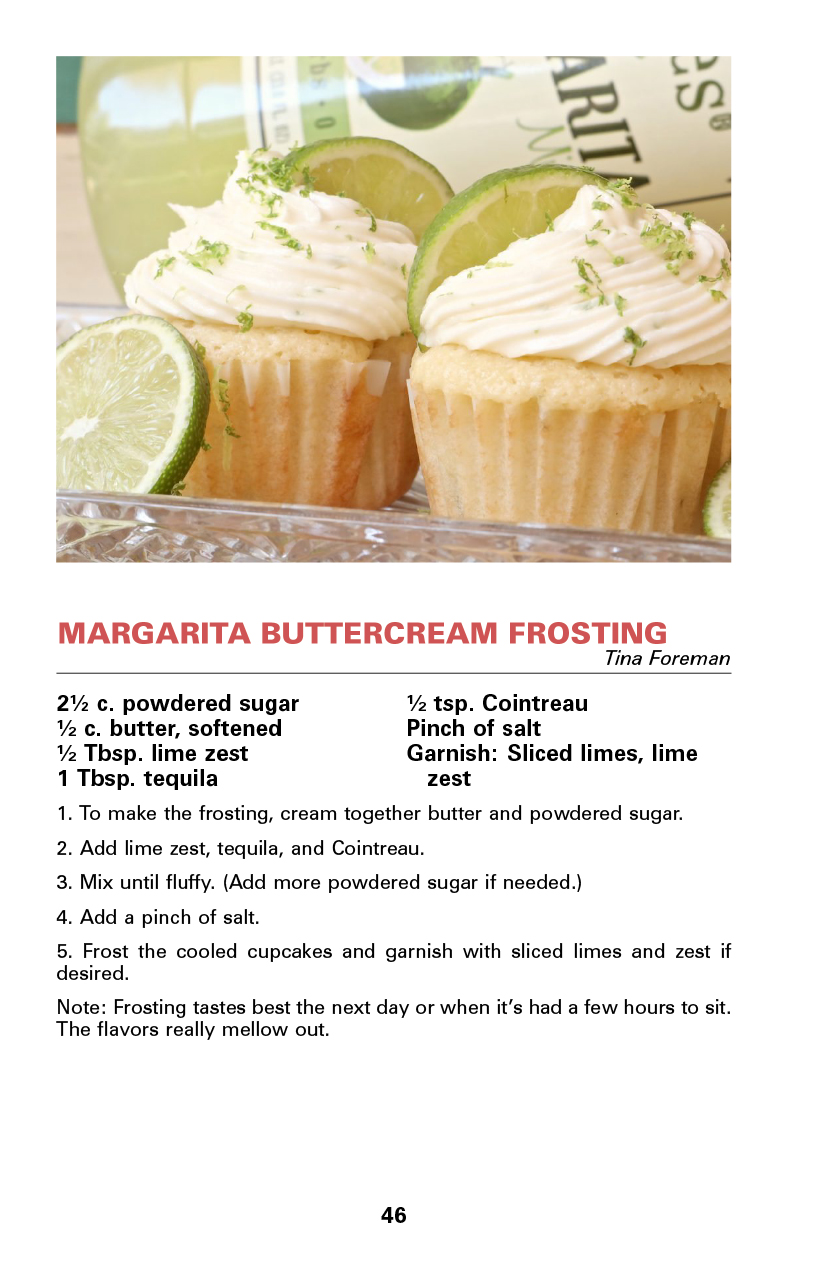
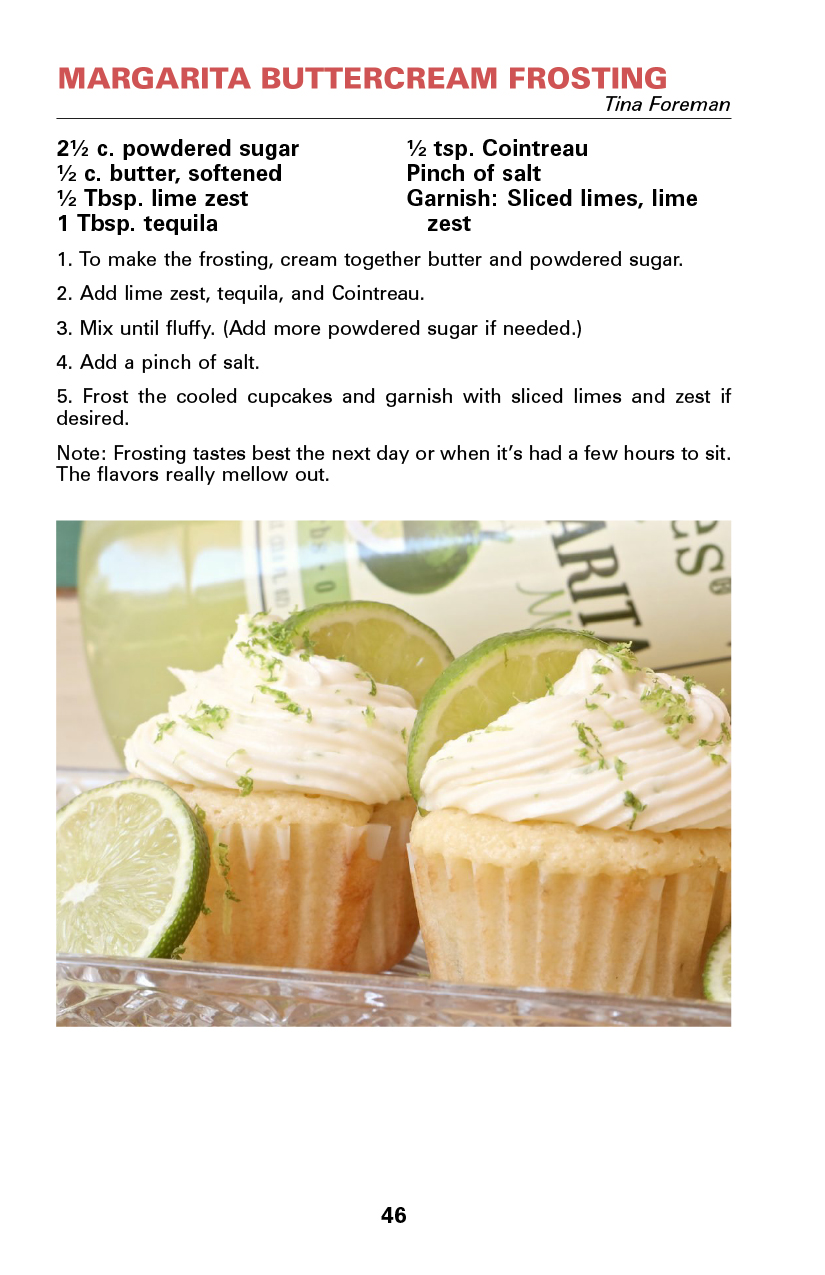
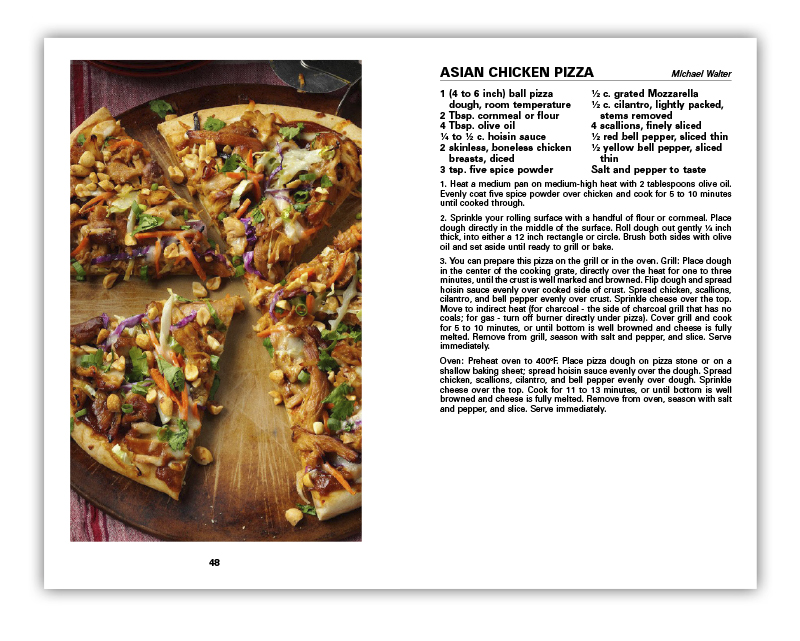
Add color photos above, below, or opposite a recipe. Recipe titles can also be printed in color. Choose from our color palette to compliment your book’s theme and watch sales soar!
Select Your Recipe Paper
Among the choices for your recipe pages is the paper they are printed on. With the exception of dividers, all text pages (personal pages and recipes) print on the same paper color and weight.
WHITE
Our 60# white uncoated text is the highest quality in the cookbook industry. Smooth, crisp, and bright white, it offers exceptional readability and works well for black ink or pages with color photos.
CRÉME
Our optional 60# crème uncoated text adds a more nostalgic look to your cookbook. Crème paper stock is a popular choice for photographs in family, museum, and heritage cookbooks.
80# Silk
Our standard full color dividers are printed on 80# silk text stock, but did you know this stock can be used for your cookbook’s other pages as well?
Add photos of special meaning to your personal pages and/or add a photo to a recipe page. This high quality coated stock will make your photos really stand out. It’s a small upgrade in cost, but people will gladly pay more for a higher quality cookbook!
Recipe Formats
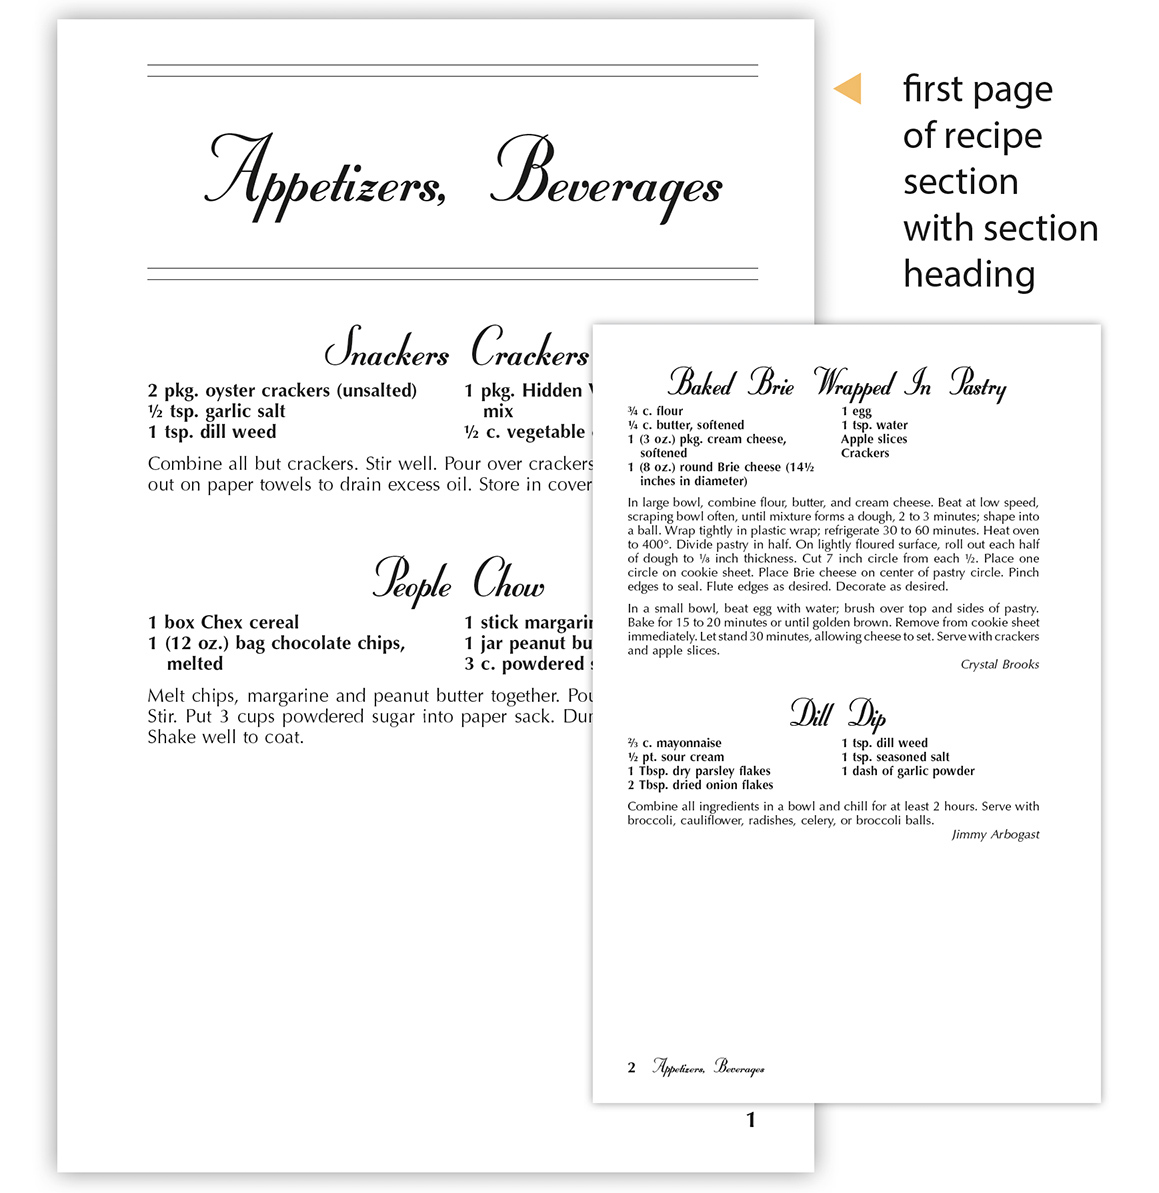
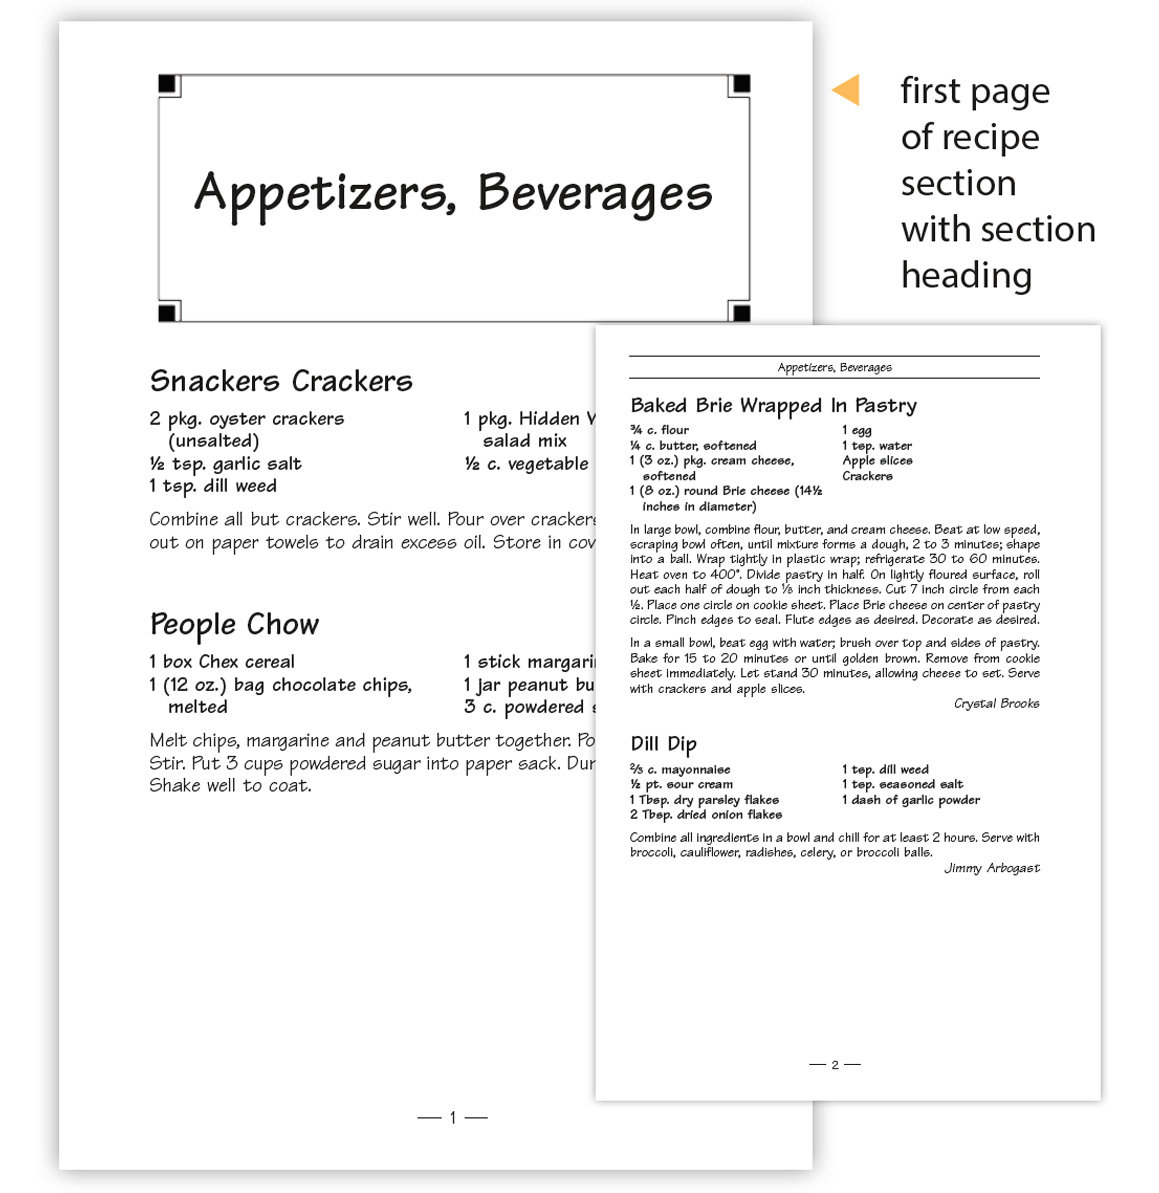
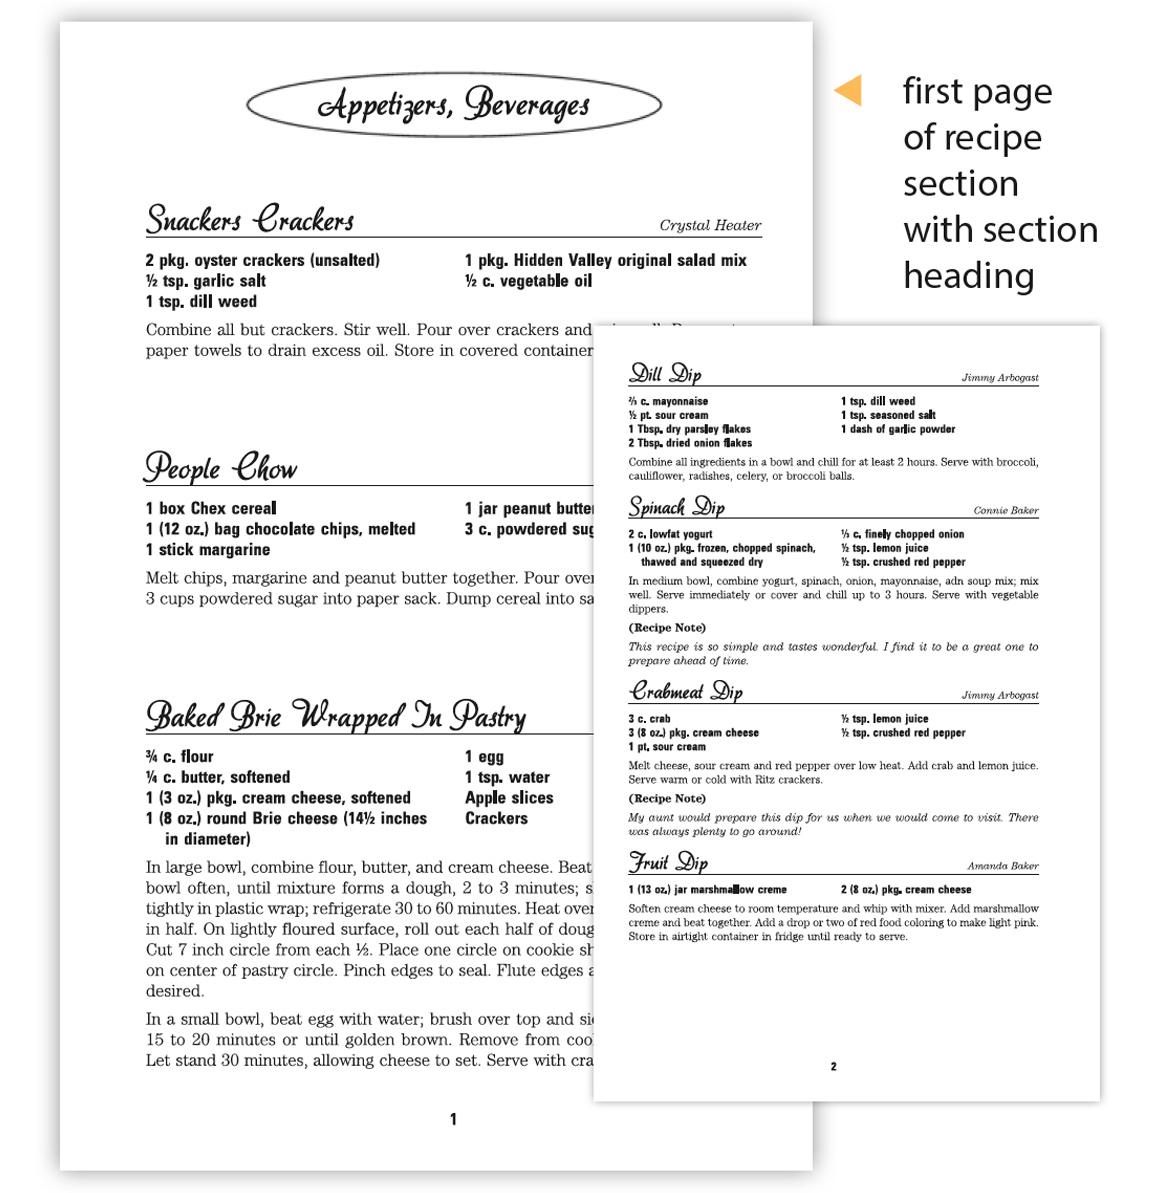
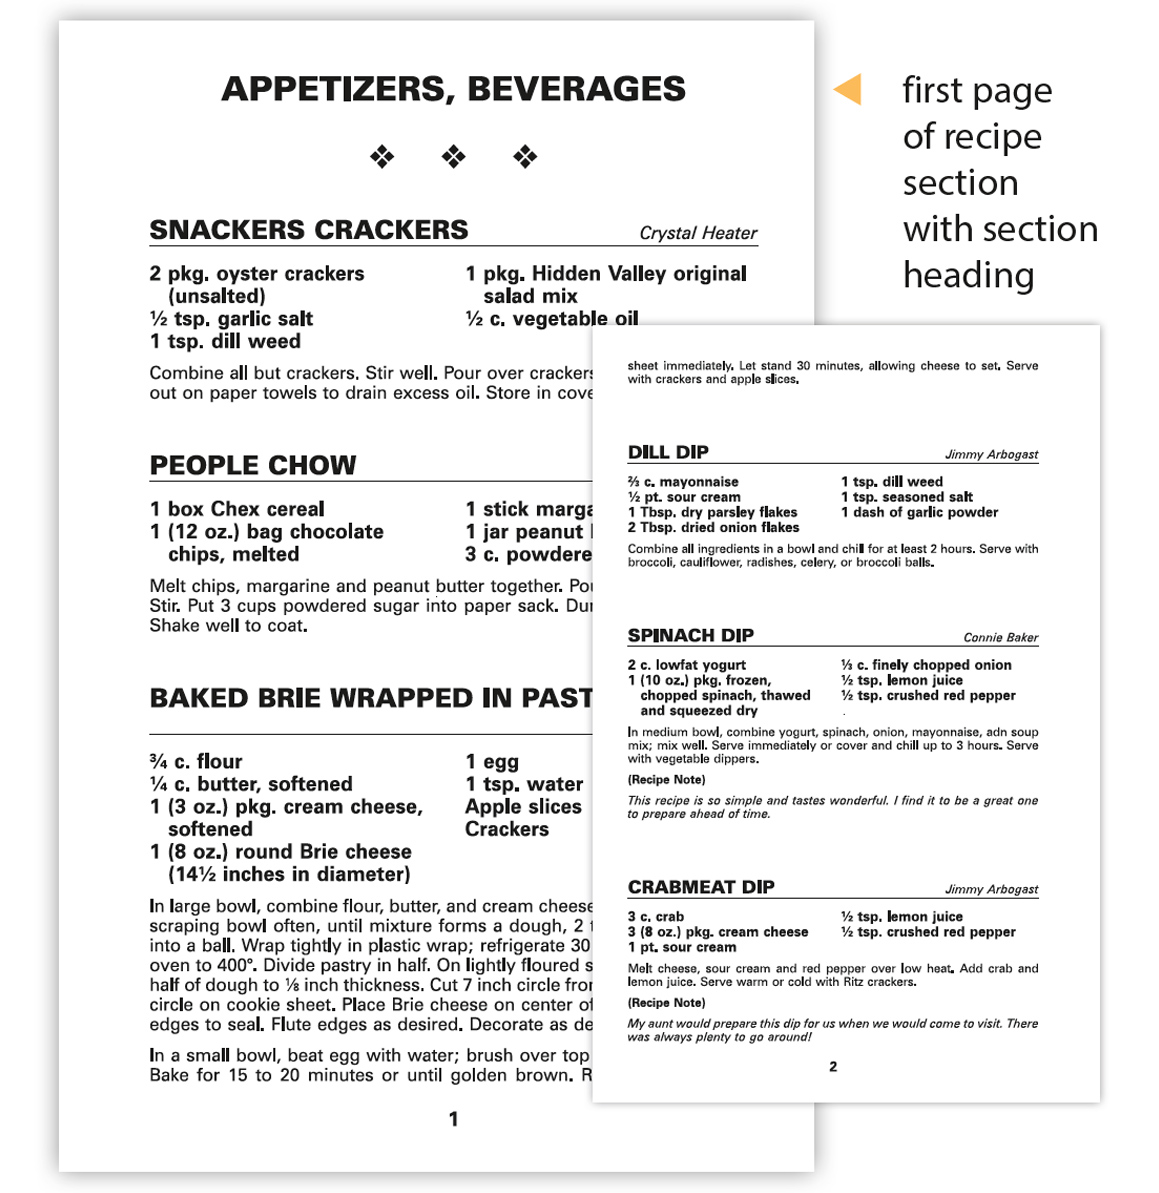
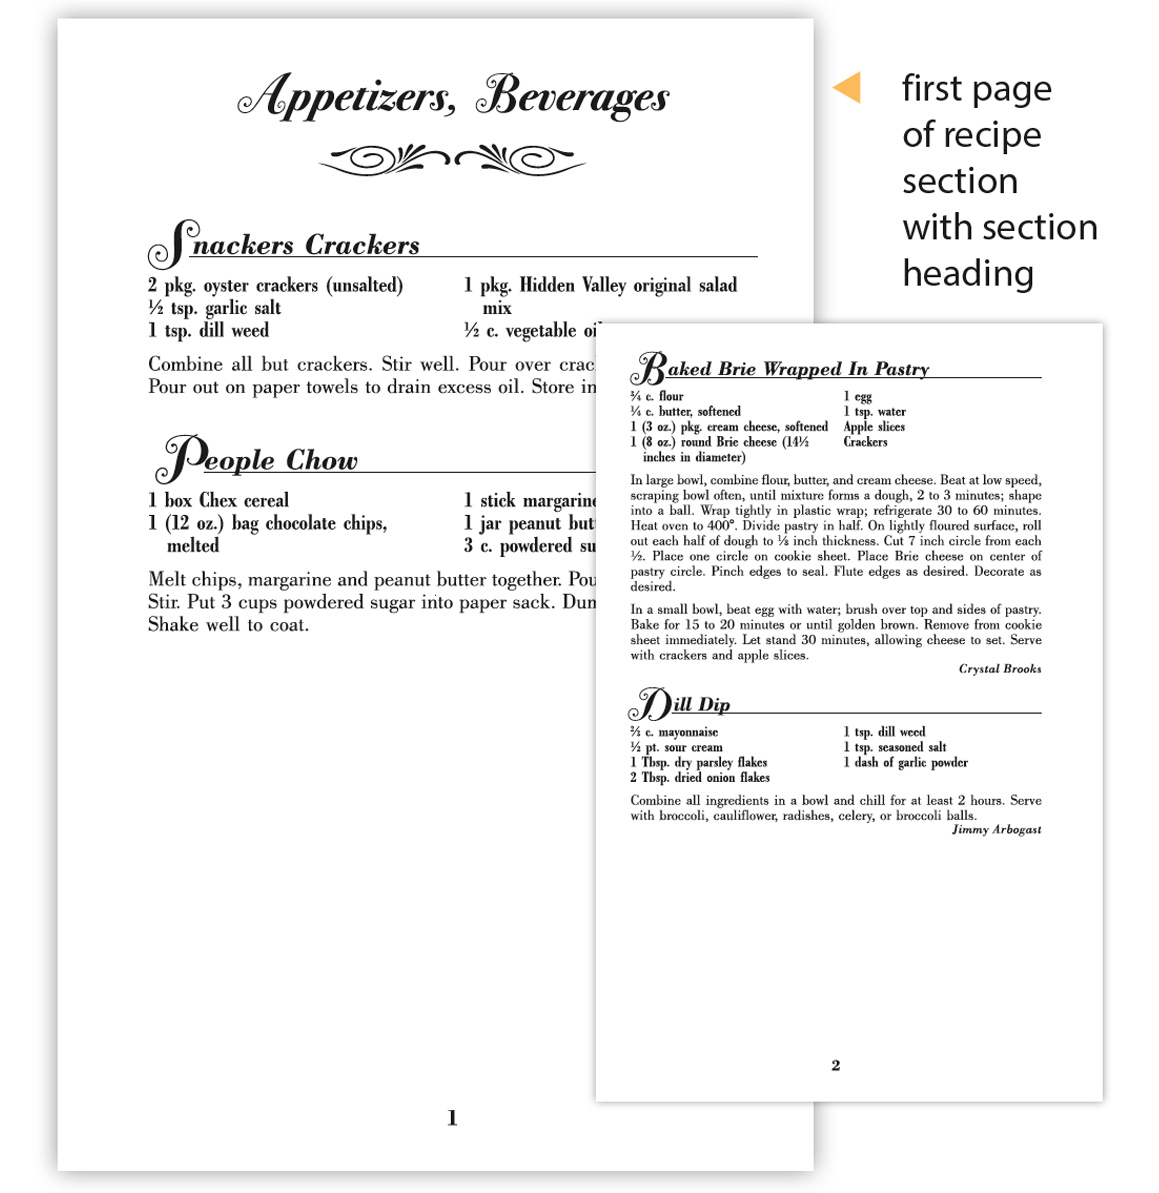
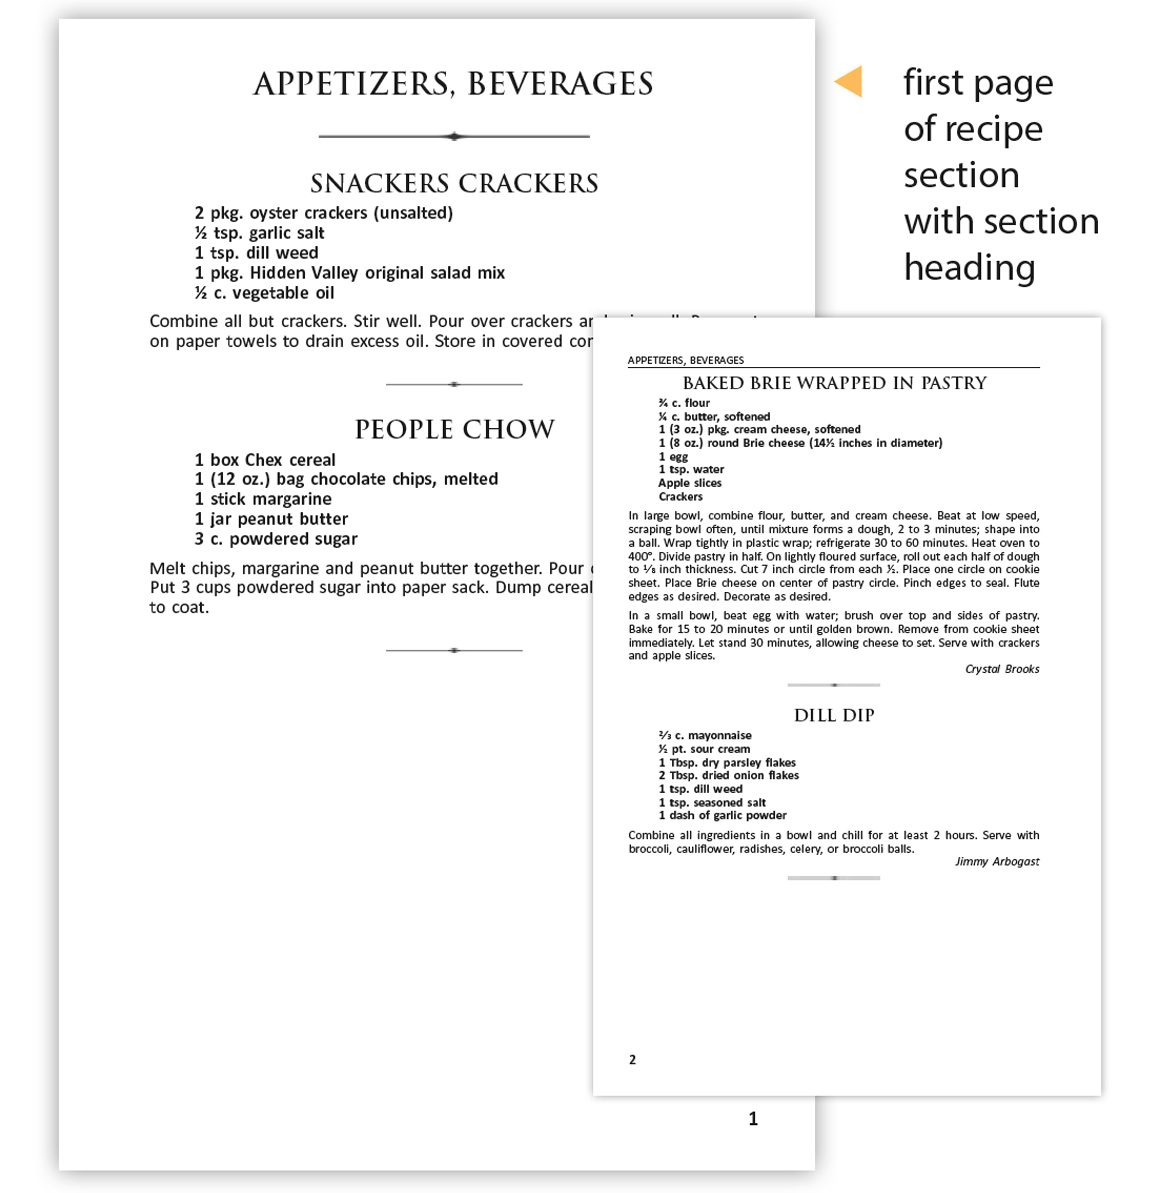
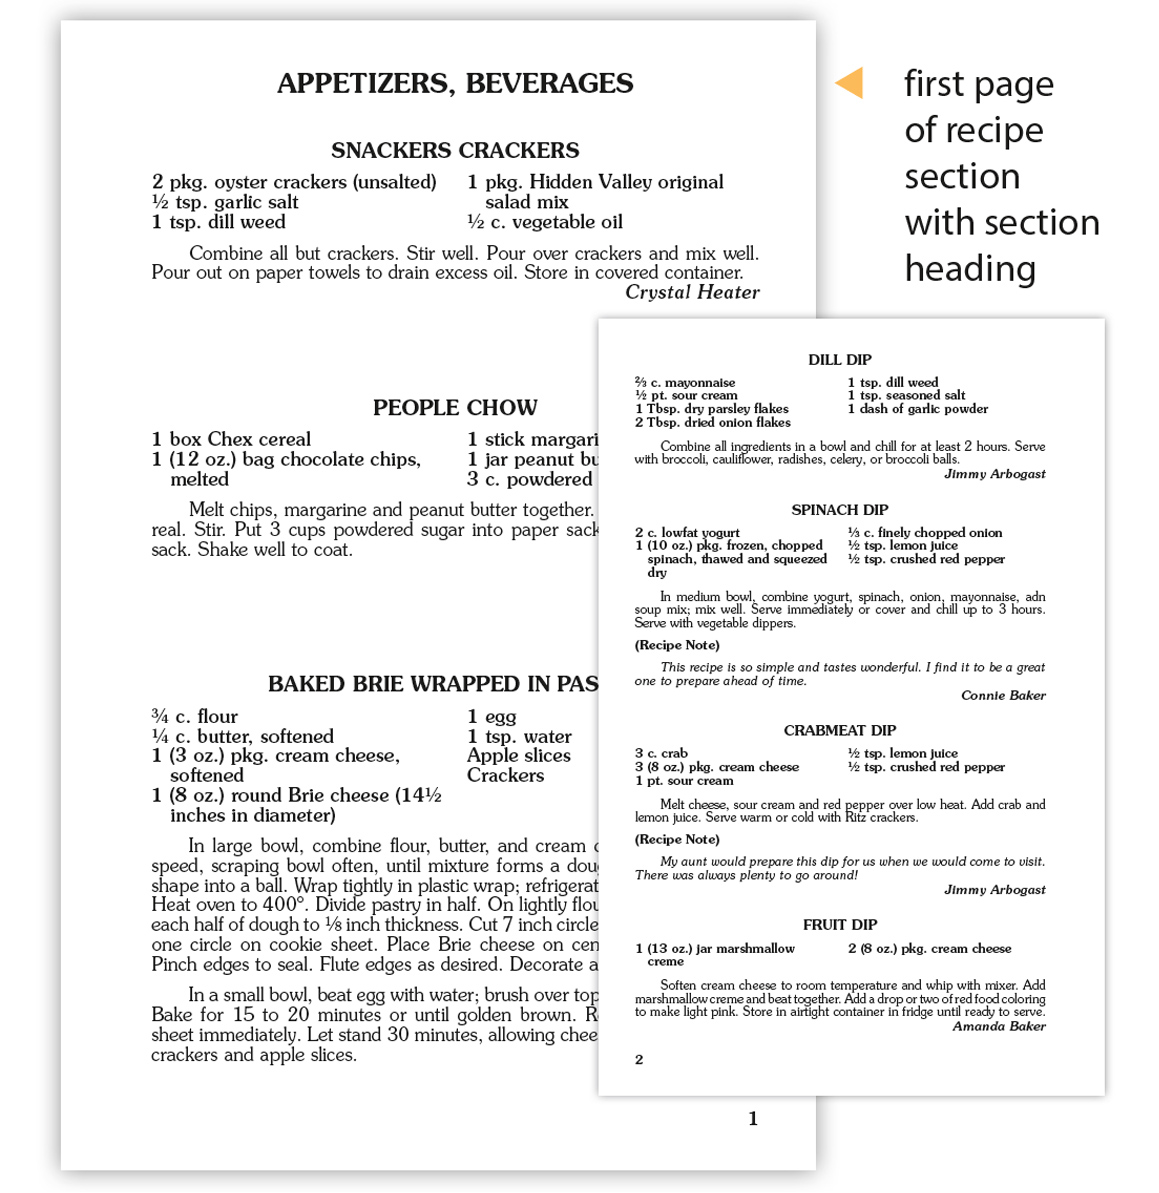
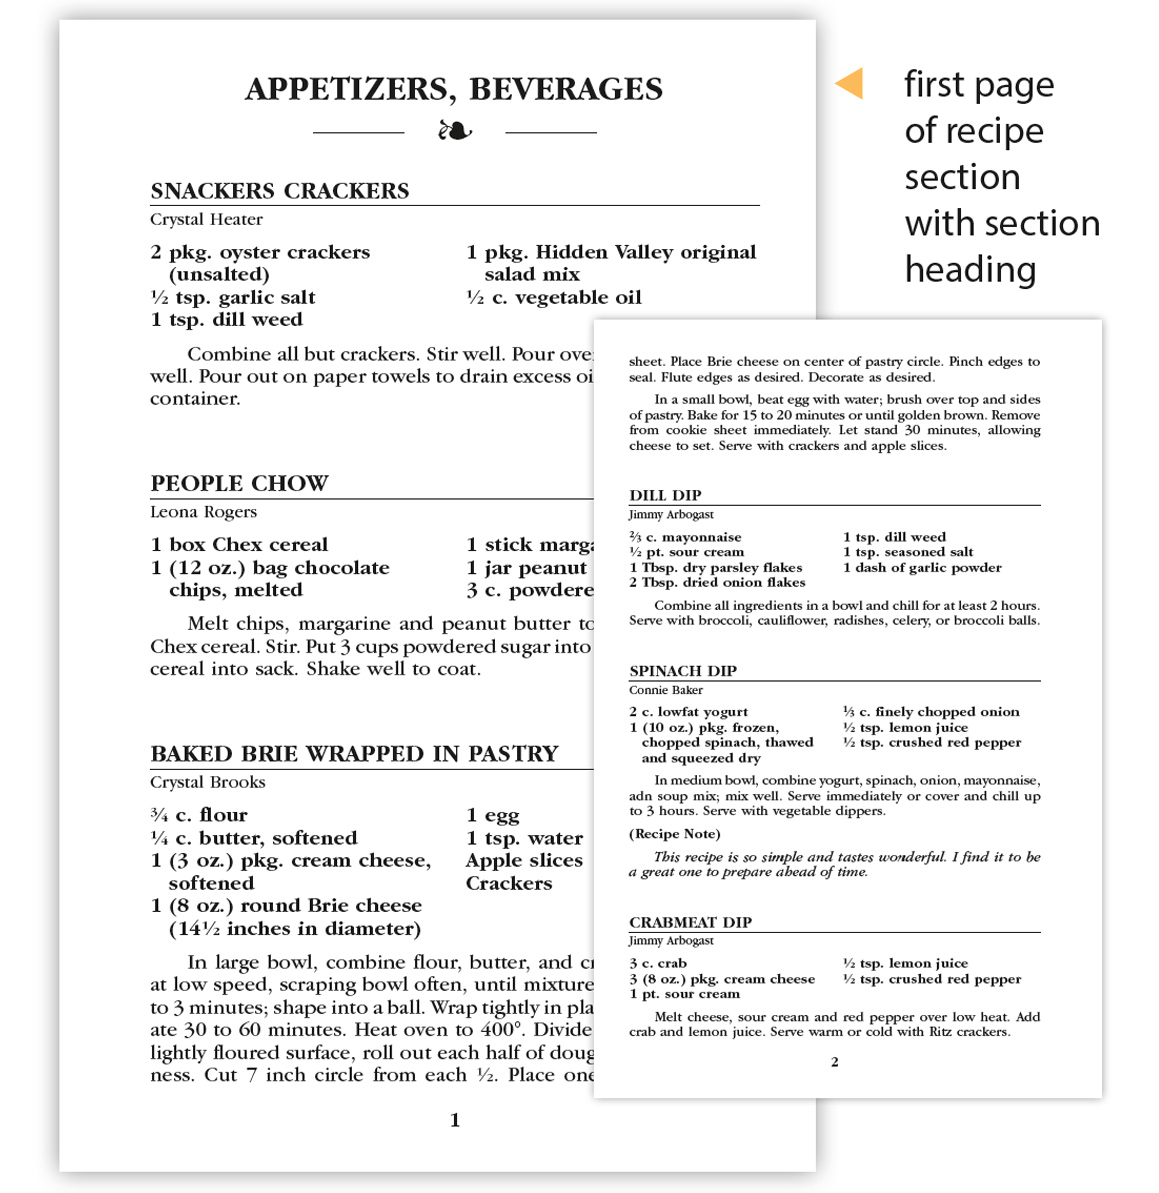
Each Recipe Format features a different typestyle and page layout. (Note: Each Recipe Format is available only in the typestyle shown on the following examples.)
|
RECIPE FORMATS at a GLANCE: |
||
|
Format |
Recipes Continued |
Recipes NOT Continued |
|
Traditional |
|
|
|
Classic |
|
|
|
Welcome Home |
|
|
|
E-Z Read |
|
|
|
Fanciful |
NOT AVAILABLE |
|
|
Premiere |
NOT AVAILABLE |
|
|
Casual |
NOT AVAILABLE |
|
|
Black Tie |
NOT AVAILABLE |
|
|
Economy |
|
NOT AVAILABLE |
|
RECIPE FORMATS at a GLANCE: |
|
|
Recipes Continued |
Recipes NOT Continued |
|
Traditional |
Traditional |
|
Classic |
Classic |
|
Welcome Home |
Welcome Home |
|
E-Z Read |
E-Z Read |
|
NOT AVAILABLE |
Fanciful |
|
NOT AVAILABLE |
Premiere |
|
NOT AVAILABLE |
Casual |
|
NOT AVAILABLE |
Black Tie |
|
Economy |
NOT AVAILABLE |
RECIPES NOT CONTINUED
Recipes Not Continued is a layout option for your cookbook that prioritizes fitting an entire recipe on one page so cooks don’t have to turn the page while they’re in the midst of preparation! The result is a classy book with more white space. All of the Recipe Formats are available with the Recipes Not Continued layout option—with the exception of the Economy Format—and some of them are only available with this layout option (see the chart above).
BLACK TIE
FREE
- ONLY in Recipes Not Continued
- Black Ink on 60# White Paper
- Text fillers (available only with Recipes Not Continued)
- Image fillers (available only with Recipes Not Continued)
- Recipe Icons
- Recipe Notes
- Sub-categories
DesignerOption
- Creme paper
- 80# silk text paper
- Color printing (recipe titles and photos)
CASUAL
FREE
- ONLY in Recipes Not Continued
- Black Ink on 60# White Paper
- Text fillers (available only with Recipes Not Continued)
- Image fillers (available only with Recipes Not Continued)
- Recipe Icons
- Recipe Notes
- Sub-categories
DesignerOption
- Creme paper
- 80# silk text paper
- Color printing (recipe titles and photos)
ECONOMY
FREE
- ONLY in Recipes Not Continued
- Black Ink on 60# White Paper
- Recipe Icons
- Recipe Notes
- Sub-categories
DesignerOption
- Creme paper
- 80# silk text paper
- Color printing (recipe titles and photos)
CLASSIC
FREE
- Recipes Continued or Not Continued
- Black Ink on 60# White Paper
- Text fillers (available only with Recipes Not Continued)
- Image fillers (available only with Recipes Not Continued)
- Recipe Icons
- Recipe Notes
- Sub-categories
DesignerOption
- Creme paper
- 80# silk text paper
- Color printing (recipe titles and photos)
E-Z READ
FREE
- Recipes Continued or Not Continued
- Black Ink on 60# White Paper
- Text fillers (available only with Recipes Not Continued)
- Image fillers (available only with Recipes Not Continued)
- Recipe Icons
- Recipe Notes
- Sub-categories
DesignerOption
- Creme paper
- 80# silk text paper
- Color printing (recipe titles and photos)
FANCIFUL
FREE
- ONLY in Recipes Not Continued
- Black Ink on 60# White Paper
- Text fillers (available only with Recipes Not Continued)
- Image fillers (available only with Recipes Not Continued)
- Recipe Icons
- Recipe Notes
- Sub-categories
DesignerOption
- Creme paper
- 80# silk text paper
- Color printing (recipe titles and photos)
PREMIERE
FREE
- ONLY in Recipes Not Continued
- Black Ink on 60# White Paper
- Text fillers (available only with Recipes Not Continued)
- Image fillers (available only with Recipes Not Continued)
- Recipe Icons
- Recipe Notes
- Sub-categories
DesignerOption
- Creme paper
- 80# silk text paper
- Color printing (recipe titles and photos)
TRADITIONAL
FREE
- Recipes Continued or Not Continued
- Black Ink on 60# White Paper
- Text fillers (available only with Recipes Not Continued)
- Image fillers (available only with Recipes Not Continued)
- Recipe Icons
- Recipe Notes
- Sub-categories
DesignerOption
- Creme paper
- 80# silk text paper
- Color printing (recipe titles and photos)
WELCOME HOME
FREE
- Recipes Continued or Not Continued
- Black Ink on 60# White Paper
- Text fillers (available only with Recipes Not Continued)
- Image fillers (available only with Recipes Not Continued)
- Recipe Icons
- Recipe Notes
- Sub-categories
DesignerOption
- Creme paper
- 80# silk text paper
- Color printing (recipe titles and photos)
Get Creative with Extra Recipe Features!
Add Recipe Photos
FREE
RECIPE ICONS
Recipe Icons identify recipes of special importance and are placed after the recipe title on your recipe pages.
Recipe Icons may be used with any Recipe Format; limit of one per recipe.
FREE
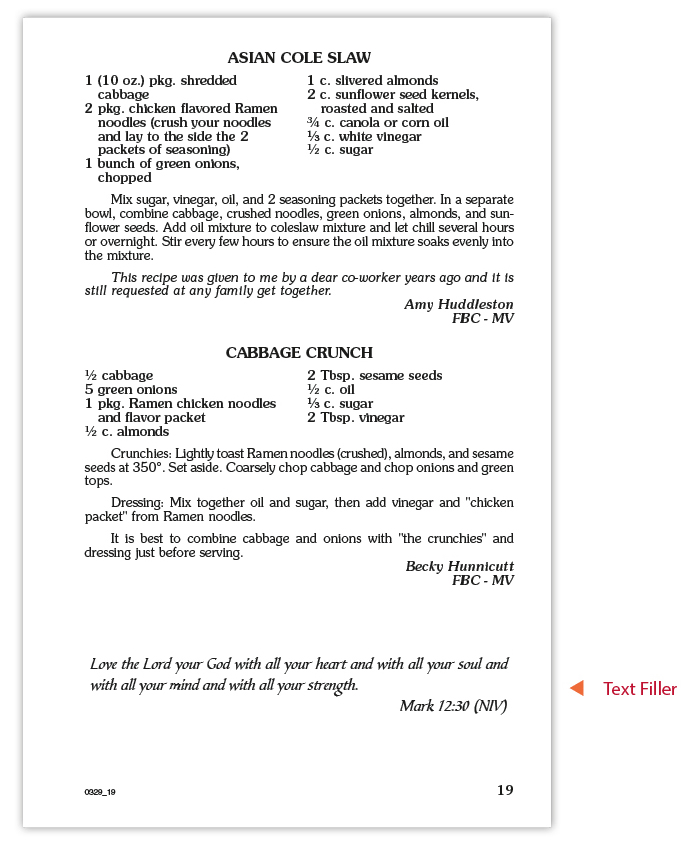
TEXT FILLER EXAMPLES
If you have chosen the Recipes Not Continued layout, some pages in your cookbook will be only partially filled with text. We can place small pieces of art or text in the white spaces as they occur in the typesetting process for no additional charge. Because the number of spaces to fill and the length of your recipes in their typeset form varies, we cannot predict how many spaces will be available for fillers.
* Each of our Image & Text Filler Sets contain at least 50 different fillers that will be placed randomly in your cookbook. Fillers are available only with Recipes Not Continued Formats.
Recipe Management
ENSURE THAT YOUR COOKBOOK IS EASY TO USE!
Everyone’s favorite recipes will be the essence of your cookbook, so it is important to verify recipe accuracy, legibility, and to organize the recipes in the order you wish them to appear in your cookbook.
DETERMINE THE RECIPE CATEGORIES FOR YOUR COOKBOOK
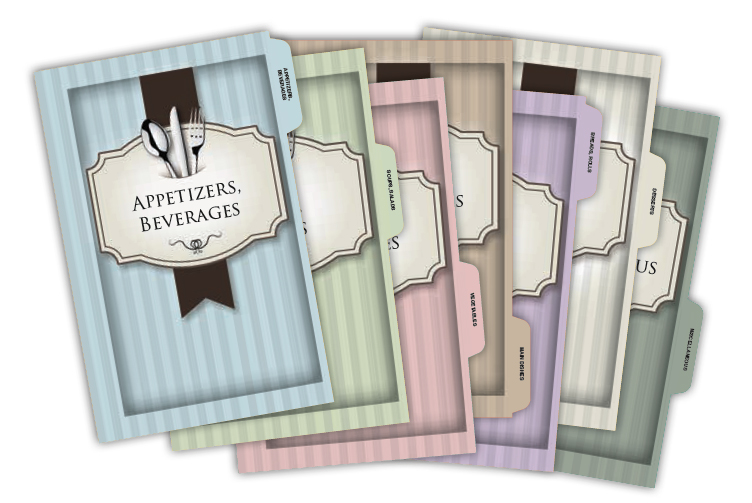
Many customers choose one of our standard divider sets. The category names for these divider sets can be changed to fit your book’s individual style and content. Unless otherwise noted, recipes will be typed by us (or by you in Cookbook Creator®) in the following order.
- Appetizers, Beverages
- Soups, Salads
- Vegetables
- Main Dishes
- Breads, Rolls
- Desserts
- Miscellaneous
FREE
SUB-CATEGORIES
You may wish to create recipe sub-categories within major categories. For example, a major category may be “Desserts,“ with sub-categories for “Cakes,” “Cookies,” and “Pies.” If you want the names of your sub-categories to appear in your cookbook and we are typing the recipes for you, you need to select the Sub-category option on the Order Form. You also need to clearly label the sub-categories; we recommend placing a separate sheet of paper with the name at the beginning of each sub-category within your recipes. Sub-categories can be used with Standard or Custom Recipe categories.
FREE
CUSTOM RECIPE CATEGORIES
You may also name your own recipe categories for your seven free paper dividers. You must select the Custom Dividers on the Order Form, and clearly identify your category names when we type the recipes. With Cookbook Creator®, you can type in the names of your custom recipe categories directly into your account.
Solicit & Gather Recipes
REACHING YOUR RECIPE CONTRIBUTORS
- Hand out recipe forms to members of your organization. Encourage members to collect recipes from family and friends.
- If you’re typing your own recipes in Cookbook Creator®, e-mail passwords and instructions to potential recipe contributors.
- E-mail announcements and recipe forms to members, telling them about your project. Follow up with a personal phone call.
- Phone, text or e-mail reminders to all potential recipe contributors.
- Ask your local newspapers, radio and TV stations to mention your cookbook in their community news coverage.
- Use social media, such as Facebook, Twitter and LinkedIn, and post information on your blog or website.
MOTIVATE YOUR POTENTIAL RECIPE CONTRIBUTORS
- Tell each prospective contributor WHY you’re creating a cookbook—whether your purpose is to raise money for your charity or for a special cause or to preserve favorite family recipes.
- Give clear instructions to your contributors, a list of your chosen food categories, and a deadline for receipt of recipes.
- Let them know each contributor’s name will be printed next to their recipe.
- Communicate where the contributors should turn in their recipes.
- Request that recipe contributors print legibly OR type the recipes.
- Request that each recipe be on a separate recipe form or sheet of paper. We advise that all recipes are submitted on the same size of paper (not smaller than a half sheet, please) for ease of organization and handling.
- Request that each recipe contributor check their own recipes for accuracy.
- Request that each contributor place recipe copy only on the front of each recipe form. (Many incomplete recipes are submitted to us because the person responsible for photocopying the recipes did not realize the recipe was continued on the back of the form.)
Recipe Review & Organization
- Check the spelling and legibility of the contributor’s name.
- Does the contributor’s name have additional information with it, such as city and state, officer title, grade in school, etc.? Please indicate on the Order Form under Special Instructions whether we are to include or omit all additional information with contributors’ names. The contributor’s name and additional information is limited to two lines; information that results in more than two lines will incur an additional charge.
- Read each recipe to verify legibility and accuracy. Carefully recopy the recipe if it is illegible, including tried and true recipes from newspapers or magazines.
- For consistency throughout your cookbook, we’ll standardize the abbreviations for measurements in all your recipes.
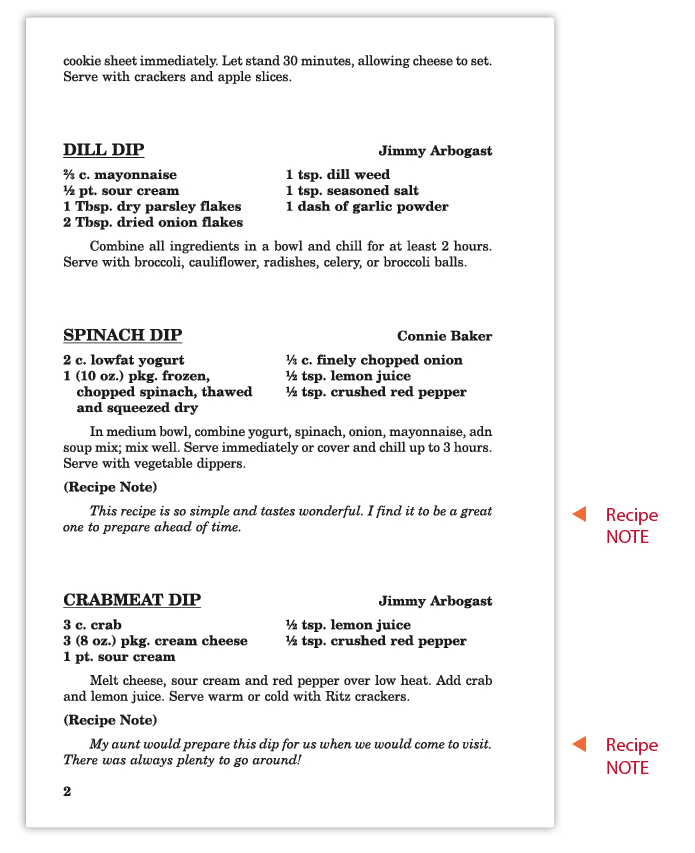
- Does the recipe contain a “Recipe Note”— anything other than the recipe’s title, ingredients, method, or contributor’s name? If so, mark this option on the Order Form to have special comments set apart from the recipe method.
- Check the back of the recipe form. If the recipe is continued on the back, recopy the continued information onto a second recipe form. Write the recipe name at the top of the form and mark it as a continued recipe. Staple the two sheets together. Do not fold recipes.
- If there are two or more recipes written on a single form, cut the recipes apart and tape each single recipe on a new recipe form or sheet of paper. Recipes on small pieces of paper could become separated or misplaced. If you submit recipes on different sizes of paper, you could incur additional charges if we must tape those smaller pieces of paper onto new recipe forms.
- Check for duplicate recipes. It is up to the committee to eliminate duplicate recipes. If you receive very similar or exact duplicate recipes from recipe contributors, you may opt to put all the names of the donors beside one recipe. If the ingredients or method vary only slightly, you may wish to simply list it as “Variation by” and the name of the donor. Variations which require only one or two lines will be counted as part of the recipe. However, if variations are lengthy, you will need to count them as an additional recipe.
- Determine the correct food category for each recipe. Group all recipes by food category, keeping each category of recipes separate. We recommend using a large envelope for each section. Your committee needs to verify that each recipe is in the proper category.
Final Preparation of Recipes
After you have collected and reviewed all the recipes for your cookbook:
- Place each recipe in the order you want it to appear within its category. This is the order in which it will appear in your cookbook.
- Number each recipe, beginning with the number 1 within each new category.
- Place each category in a separate envelope or file folder.
- Write the recipe count for each category on the outside of that category’s envelope.
- Write the section name on the outside of the envelope. If you are creating custom dividers, please write the exact wording that will be used for your section headings on the envelope, and number the envelopes in the order you wish the categories printed.
SEND YOUR RECIPES TO US
We recommend you send us your materials by a method that can be tracked (Certified Mail, UPS, or FedEx), and that you keep a copy of your cookbook materials. This will be useful should you request a PDF proof of any of your cookbook components. You
will receive a confirmation letter and a Cookbook Order Summary after your order is entered into production.
COPYRIGHTS & TRADEMARKS
Individual recipes cannot be copyrighted; however, there are some recipe titles that are trademarked. For everyone’s protection, these titles should not be printed in your cookbook. Some examples are “Derby Pie,” “Puppy Chow,” “Kibbles ’N Bits,” “Weight Watchers and Weight Watchers points,” and “Dairy Queen Ice Cream.”
REPROOF OPTION
If we typeset your recipes, all of your typeset copy will be proofed once against your original copy by our proofreaders. You may also wish to proofread your typeset copy, as this is your final opportunity to verify the accuracy of your recipes and other submitted copy before the cookbook is printed. Keep in mind that the length of time you keep your material for proofreading could affect the completion date of your cookbooks. If you wish to proofread, you need to select the Reproof Designer Option on the Order Form. This option adds up to four weeks to the completion time.
Customer changes will be billed from $4 to $10 per change, based on our examination of the changes requested. Errors which we have made will, of course, be corrected at no charge before your cookbooks are printed. Please proofread your material carefully since your Customer Reproof is the final opportunity to review the accuracy of your order prior to printing. Any errors that are overlooked during the reproof process will be considered customer errors, which can be corrected at the time of a reorder at a cost of $4 to $10 per change.
NOTE: Cookbook Creator® customers will see a formatted FREE electronic PDF proof of their cookbook pages before submitting their order. This allows you to see exactly how the personal pages, photos, artwork, and recipes will appear in your printed book. Please note that with Cookbook Creator®, you typeset the pages of the cookbook, including the recipes, and are responsible for its accuracy, not Cookbook Publishers. Check your PDF proof thoroughly for misspelled words, missing or incorrect ingredients and methods, missing or incorrect submitter names, and improper capitalization and punctuation. Any changes or corrections requested after submitting for print will incur correction charges of $4 to $10 per correction.
